I refuse to indulge in self pity today, so I am not going to tell you how bad my sinus infection was this past week or how I am still sniffling :-(. But I did have a bad one which mercilessly brought me down for most of last week. I am slowly getting back into routine and my constant pig like snorts have thankfully become occasional and my co workers who found excuses to run away from me last week are finally considering me harmless to talk to. Here is my golden rule for sinus infections, it is an inseparable pal in my life who loves to visit me every so often and all I can do to return that love is to surround myself with boxes of tissues (softer the better, ah my poor nose :-)), steam, steam and steam some more, drink lots of kashaya and keep chanting the eternal truth "this too shall pass". But on the brighter side, the more frequent bouts of cold and sinus seem to make BH the better kashaya maker :-), the man turns dry spices and herbs into magically soothing drink now. Ahem, very proud of my own coaching.
Did I say I won't tell you the gory details of the past week? And you believed it? You should know better than that after more than 2 years of reading my blog. Yap, yap and yapping is what I do best and any subject will work, even a sinus infection :-)
 The worst part of last week was that my taste buds took the worst beating and have been totally lifeless. Everything I eat tastes bitter or absolutely tasteless. I tried eating lotsa different stuff just to jump start those taste buds but to no avail and that is when I started craving for those aged, ripe, lemon pickle nammamma made :-(. When I was whining about my cold & infection with a colleague and told her about my immediate need to eat lemon pickle, she looked at me quizzically to ask the very obvious question everyone seems to think of (apparently). So I had to explain to her that I was not an expectant mother but just had this unexplainable urge to eat some of those lemon pickle from my mom's jaadi (porcelain pickle container) which was perfectly normal (for people like me who were not pregnant either) :-). I am not sure she bought it though she offered a suggestion and asked if I could have BH prepare some for me since I looked too sick to make anything. Not a bad idea but I didn't have the energy to teach and bring BH upto speed on making lemon pickles.
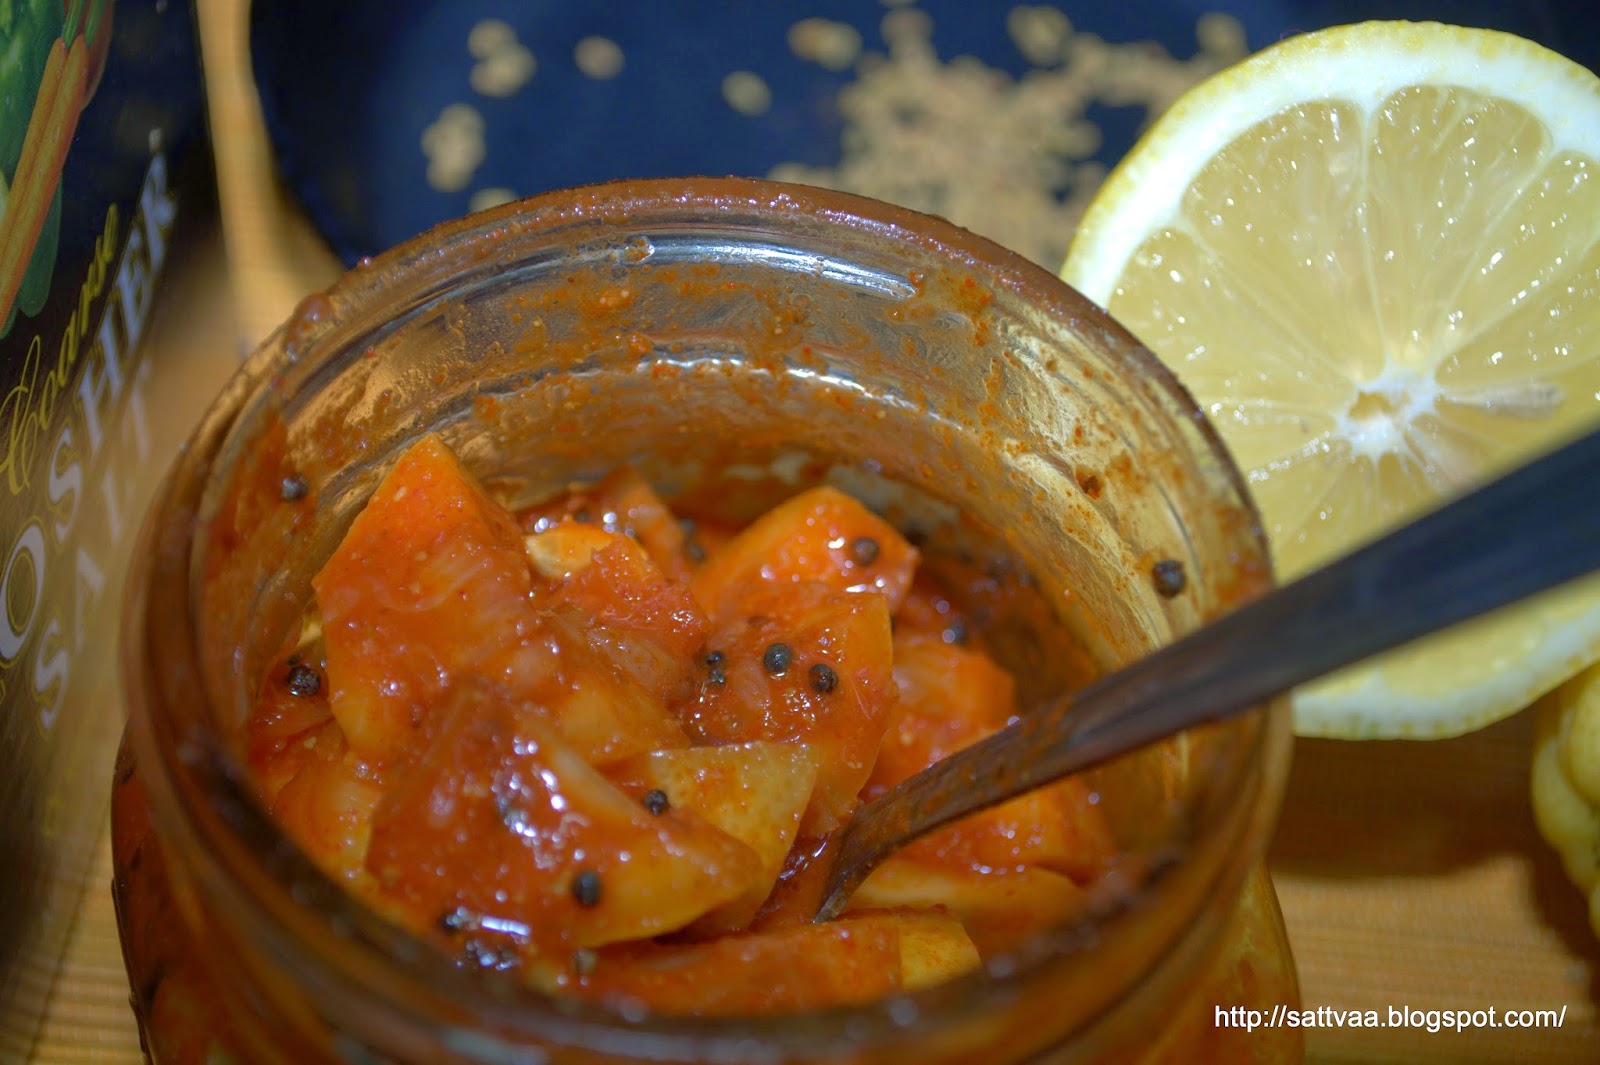
Normally, I have a whole stack of pickles in the refrigerator and most of them are Andhra pickles and mostly imported from India, while I make small quantities of the Karnataka variety and my other unusual pickles here. But just last month, we cleaned up the fridge, gave away some and threw away some really old stock and I didn't have any lemon pickles at my reach. And I don't have hopes of getting nammamma to make me a batch of lemon pickles urgently to quench my urge either. So, I had to get to the kitchen myself and make a small batch, I had everything I needed - juicy, yellow lemons, rich, red chili powder, kosher salt, mustard, fenugreek and good quality asafoetida. Yes, necessity is the only motivation needed here.
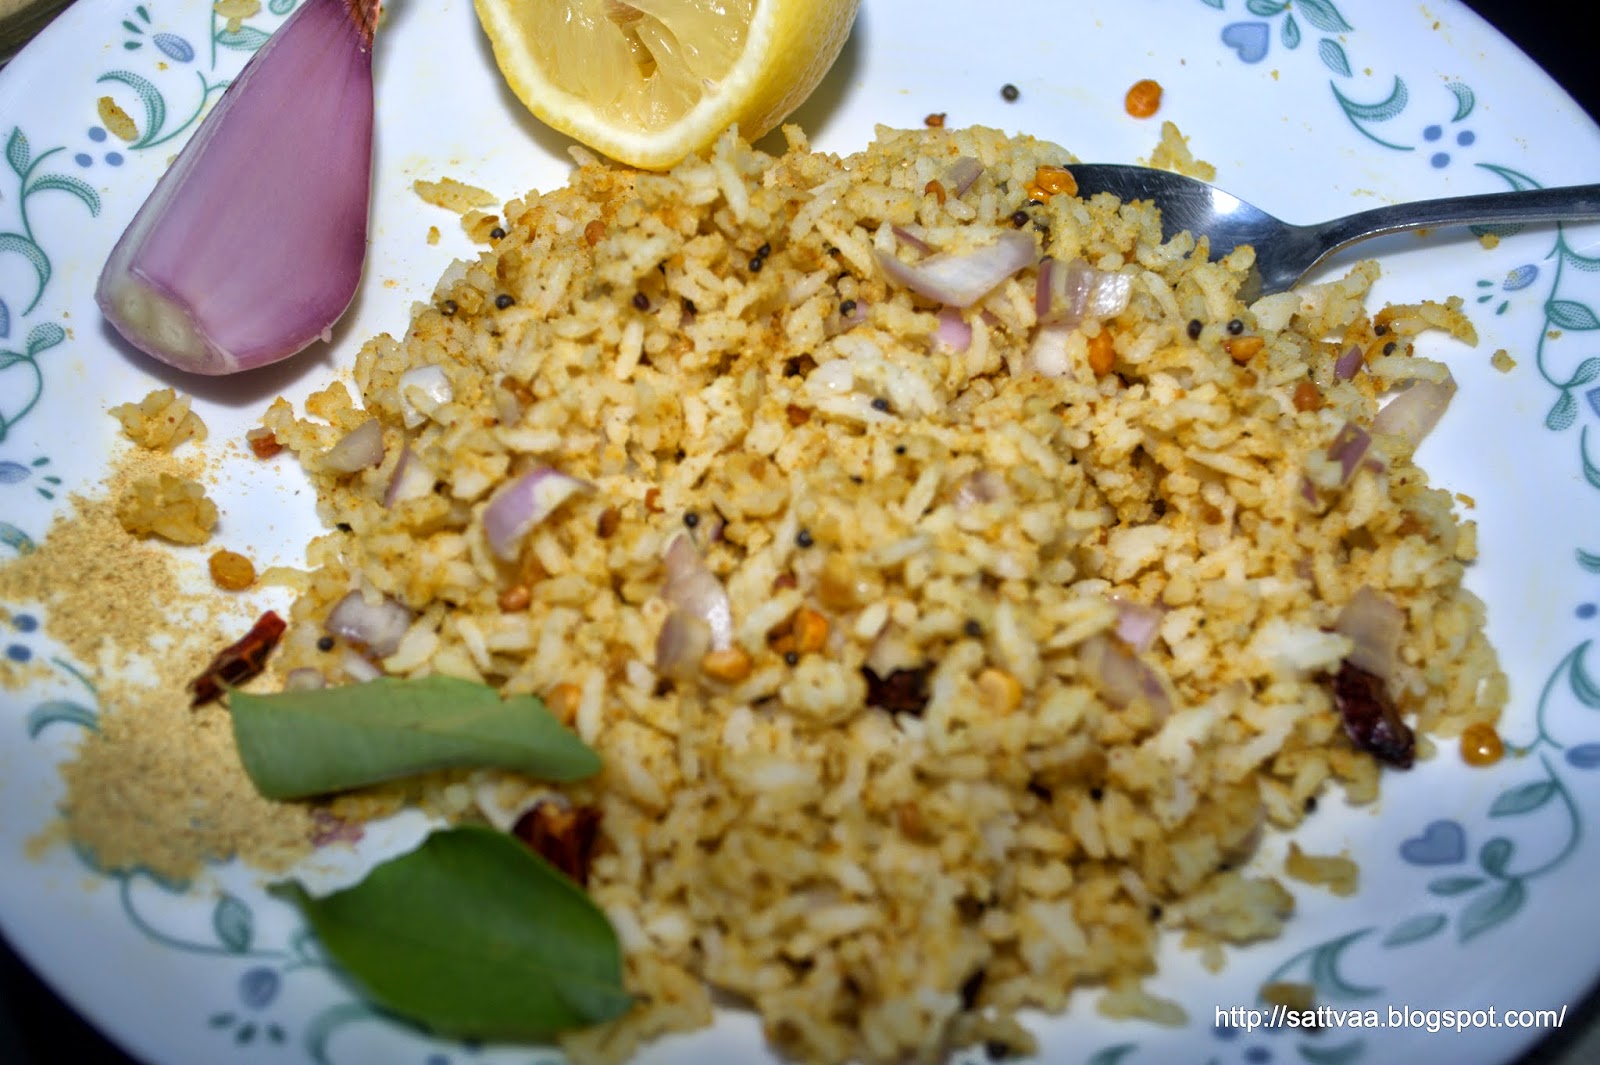
 Karnataka pickles differ from Andhra pickles in a couple of ways. The former uses salt as preservative while the latter relies on a combination of salt and oil. Also, the former uses mainly powdered fenugreek and mustard is used as seasoning but you will find a substantial quantity of mustard powder (raw or roasted depending on the pickle variety) in the Andhra pickles. But both are yummy and irreplaceable accompaniments in any proper Indian meal :-). While I am at it, let me also tell you that amma makes lemon pickle differently by drying out the salted lemon pieces in sun before adding the spices, it tastes very different from what I am going to show you today and is usually mixed with hot, white rice along with a spoon of ghee. Yumm..
Back to nammamma's lemon pickle or nimbe hannina uppinakayi as it is called in Kannada, as far as I can remember, hers was the best tasting pickle. She had these tall porcelain containers called jaadis which held pickles year long (lemons, gooseberries, mangoes were the common varieties) and the older stock used to get put into smaller containers to make way for the new and fresh pickles every season. As far as lemon pickle went, I loved the oldest. As she used rock salt (which is the preferred salt in pickling), over time the salt would get crystallized and form into small, white, crunchy bites which tasted heavenly while the lemon slices would be so soft after marinating in the salt and juices for months that they would simply dissolve & disappear if you licked them a couple of times. That kind of ripe pickle with a bowl of yogurt rice is the ultimate comfort meal. If you had a cup of saaru on the side, you could consider yourself the luckiest person in this universe.
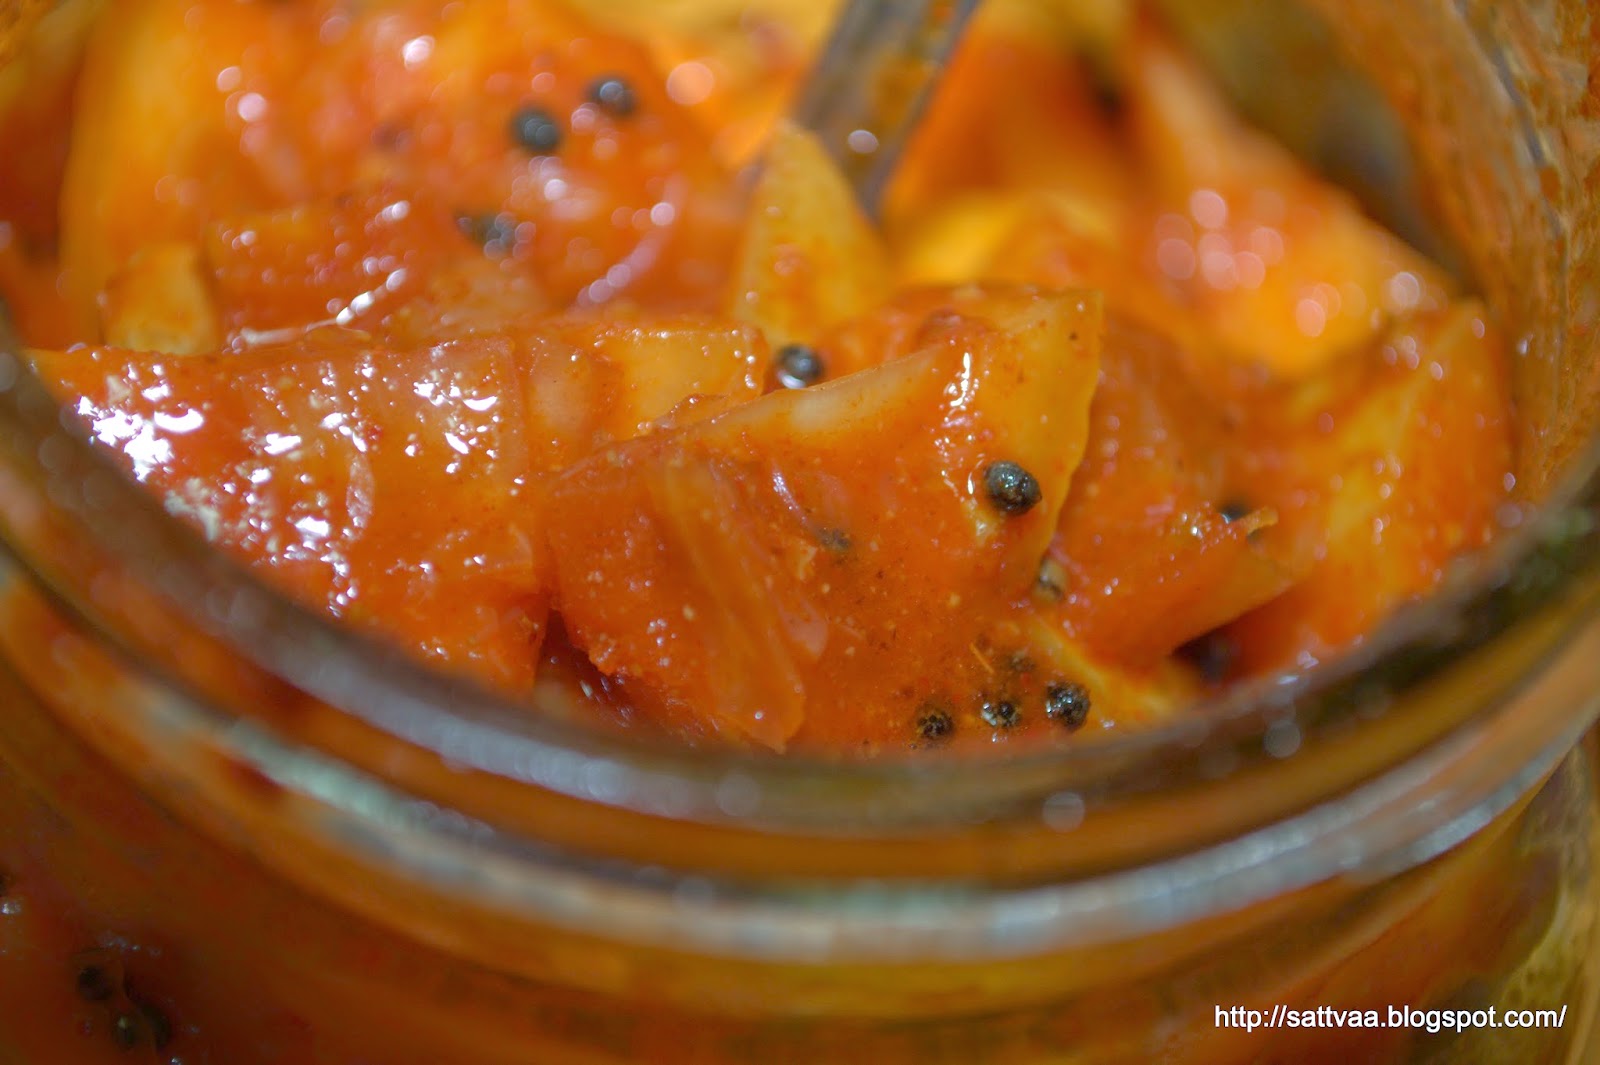 I made a small batch (just 2 lemons) of lemon pickle and waited only 3 days (since I couldn't wait any longer) but one lick of that lemon pickle and a long distance phone call to nammamma made me get back to my bouncy self again in no time :-), the power of pickle is such. Sorry, I don't have any pictures of cut lemon or the layers of salt & lemon - you see, I was too sick to take pictures the first day and my goal was to make the pickle. And I do not have pictures of the really ripe, almost dry pickle either. I will try and update the post next time and make them.
Pickling is a really simple process and gives you many days of joy if you just keep in mind a few things. So, if you are new to making pickles, please pay attention to the notes below and internalize these as the cardinal rules of pickle making (if you don't want to end up with bottles of rotten pickles - been there, done that, so take my tips seriously).
 What do you need to make lemon pickle?
2 big, fresh lemons (see notes below)
1/4 cup kosher salt (see notes below)
1 Tbsp red chili powder
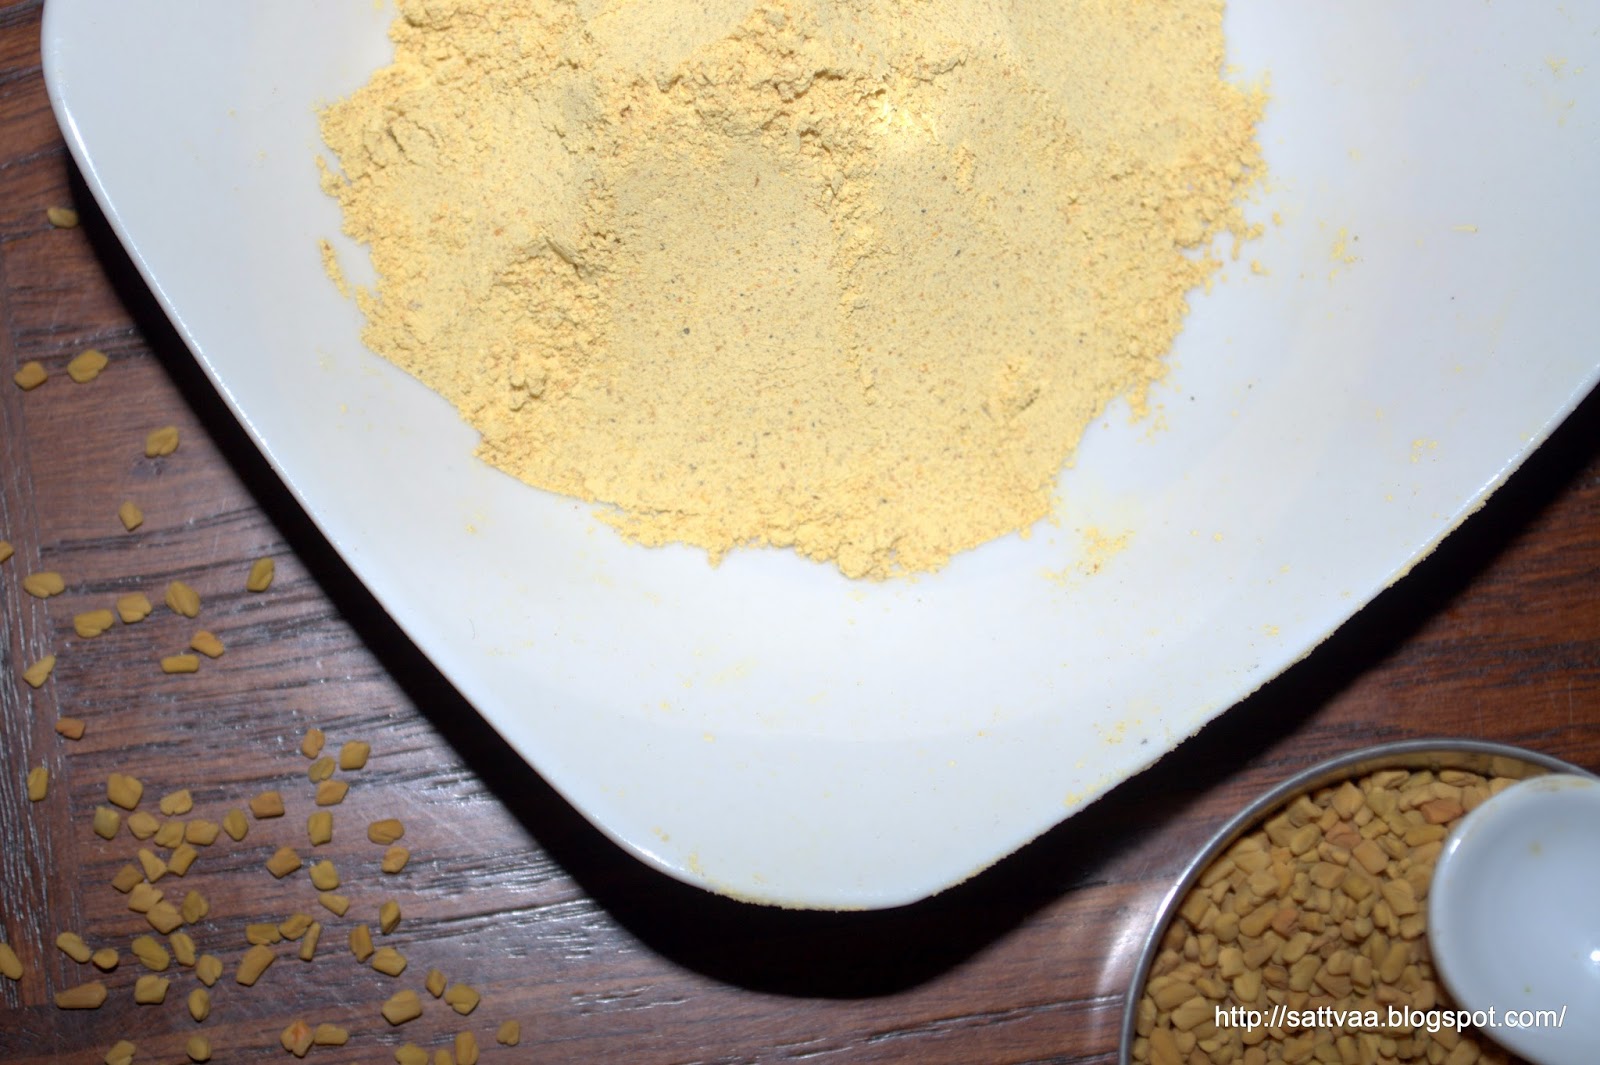
1 Tsp fenugreek seeds
1 Tsp oil
1/4 Tsp Asafoetida
3/4 Tsp mustard
How do you make Lemon pickle?


Did I say I won't tell you the gory details of the past week? And you believed it? You should know better than that after more than 2 years of reading my blog. Yap, yap and yapping is what I do best and any subject will work, even a sinus infection :-)
Normally, I have a whole stack of pickles in the refrigerator and most of them are Andhra pickles and mostly imported from India, while I make small quantities of the Karnataka variety and my other unusual pickles here. But just last month, we cleaned up the fridge, gave away some and threw away some really old stock and I didn't have any lemon pickles at my reach. And I don't have hopes of getting nammamma to make me a batch of lemon pickles urgently to quench my urge either. So, I had to get to the kitchen myself and make a small batch, I had everything I needed - juicy, yellow lemons, rich, red chili powder, kosher salt, mustard, fenugreek and good quality asafoetida. Yes, necessity is the only motivation needed here.
Back to nammamma's lemon pickle or nimbe hannina uppinakayi as it is called in Kannada, as far as I can remember, hers was the best tasting pickle. She had these tall porcelain containers called jaadis which held pickles year long (lemons, gooseberries, mangoes were the common varieties) and the older stock used to get put into smaller containers to make way for the new and fresh pickles every season. As far as lemon pickle went, I loved the oldest. As she used rock salt (which is the preferred salt in pickling), over time the salt would get crystallized and form into small, white, crunchy bites which tasted heavenly while the lemon slices would be so soft after marinating in the salt and juices for months that they would simply dissolve & disappear if you licked them a couple of times. That kind of ripe pickle with a bowl of yogurt rice is the ultimate comfort meal. If you had a cup of saaru on the side, you could consider yourself the luckiest person in this universe.
Pickling is a really simple process and gives you many days of joy if you just keep in mind a few things. So, if you are new to making pickles, please pay attention to the notes below and internalize these as the cardinal rules of pickle making (if you don't want to end up with bottles of rotten pickles - been there, done that, so take my tips seriously).
2 big, fresh lemons (see notes below)
1/4 cup kosher salt (see notes below)
1 Tbsp red chili powder
1 Tsp fenugreek seeds
1 Tsp oil
1/4 Tsp Asafoetida
3/4 Tsp mustard
How do you make Lemon pickle?
- Wash and thoroughly wipe the lemons to rid of all moisture from outside.
- Get the gadgets out - clean dry cutting board, knife, spoon and jars to hold the pickles.
- Remove the tips from the lemon (only if they are hard and sticking out), cut them in half and cut each half into bite sized pieces.
- Put 1/2 Tsp of salt as the first layer in the container.
- Now add the lemon pieces in a layer on top, add more salt on top.
- Keep repeating until all lemon pieces are used up. End it with a top layer of salt.
- Close the lid (if the lid is pressing down on the lemon pieces, use a thin cheese cloth to tie up the top instead of the lid). You want to avoid all metal contacts to the acidic juice. After a couple of days, the volume reduces and you will have space on top to easily use the lid.
- Keep aside in a cool, dark place.
- For the next 4-5 days (depends on the quality and quantity of lemons) or until the volume decreases by about 1/8th, every day using a clean spoon, mix the lemon pieces well so that salt gets to all of them.
- By the 5th day, the pieces would have softened quite a bit.
- First add the dry red chili powder.
- Dry roast the fenugreek seeds stirring constantly until they turn light brown and fragrant.
- Once cool, make a fine powder and add it to the pickle.
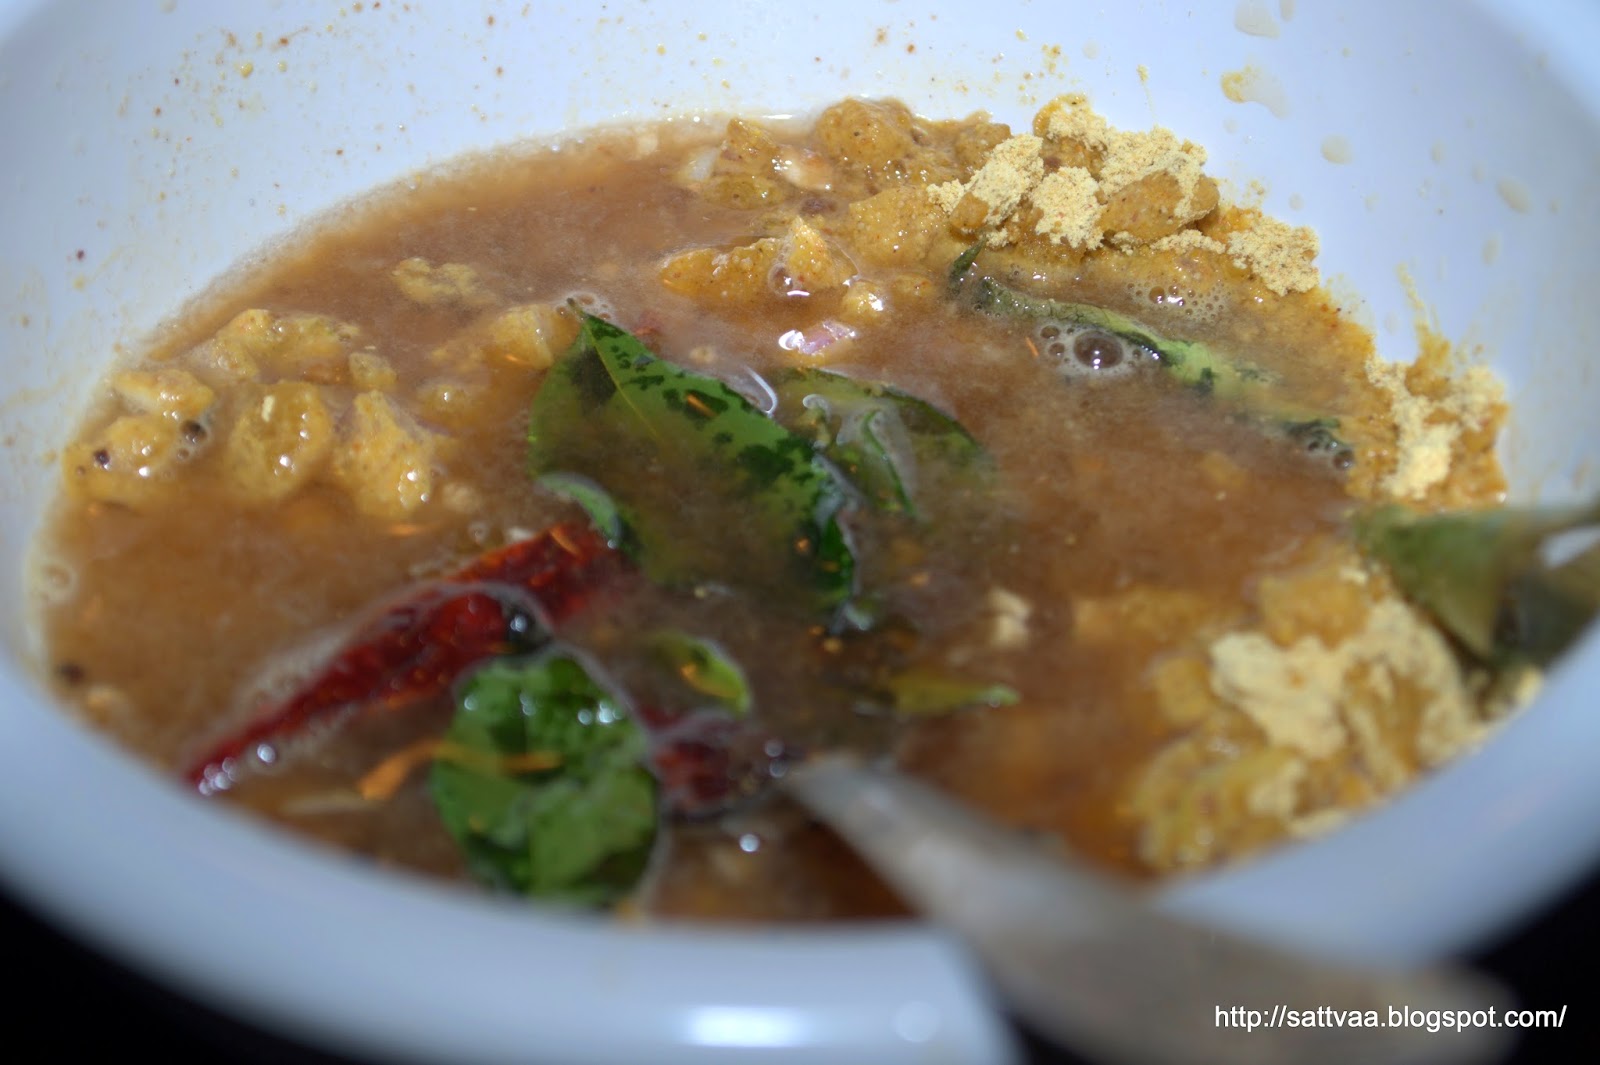
- Heat oil in a pan, add asafoetida and mustard. When mustard pops, switch off and keep aside to cool.
- When the seasoning has cooled down completely, add it to the pickle.
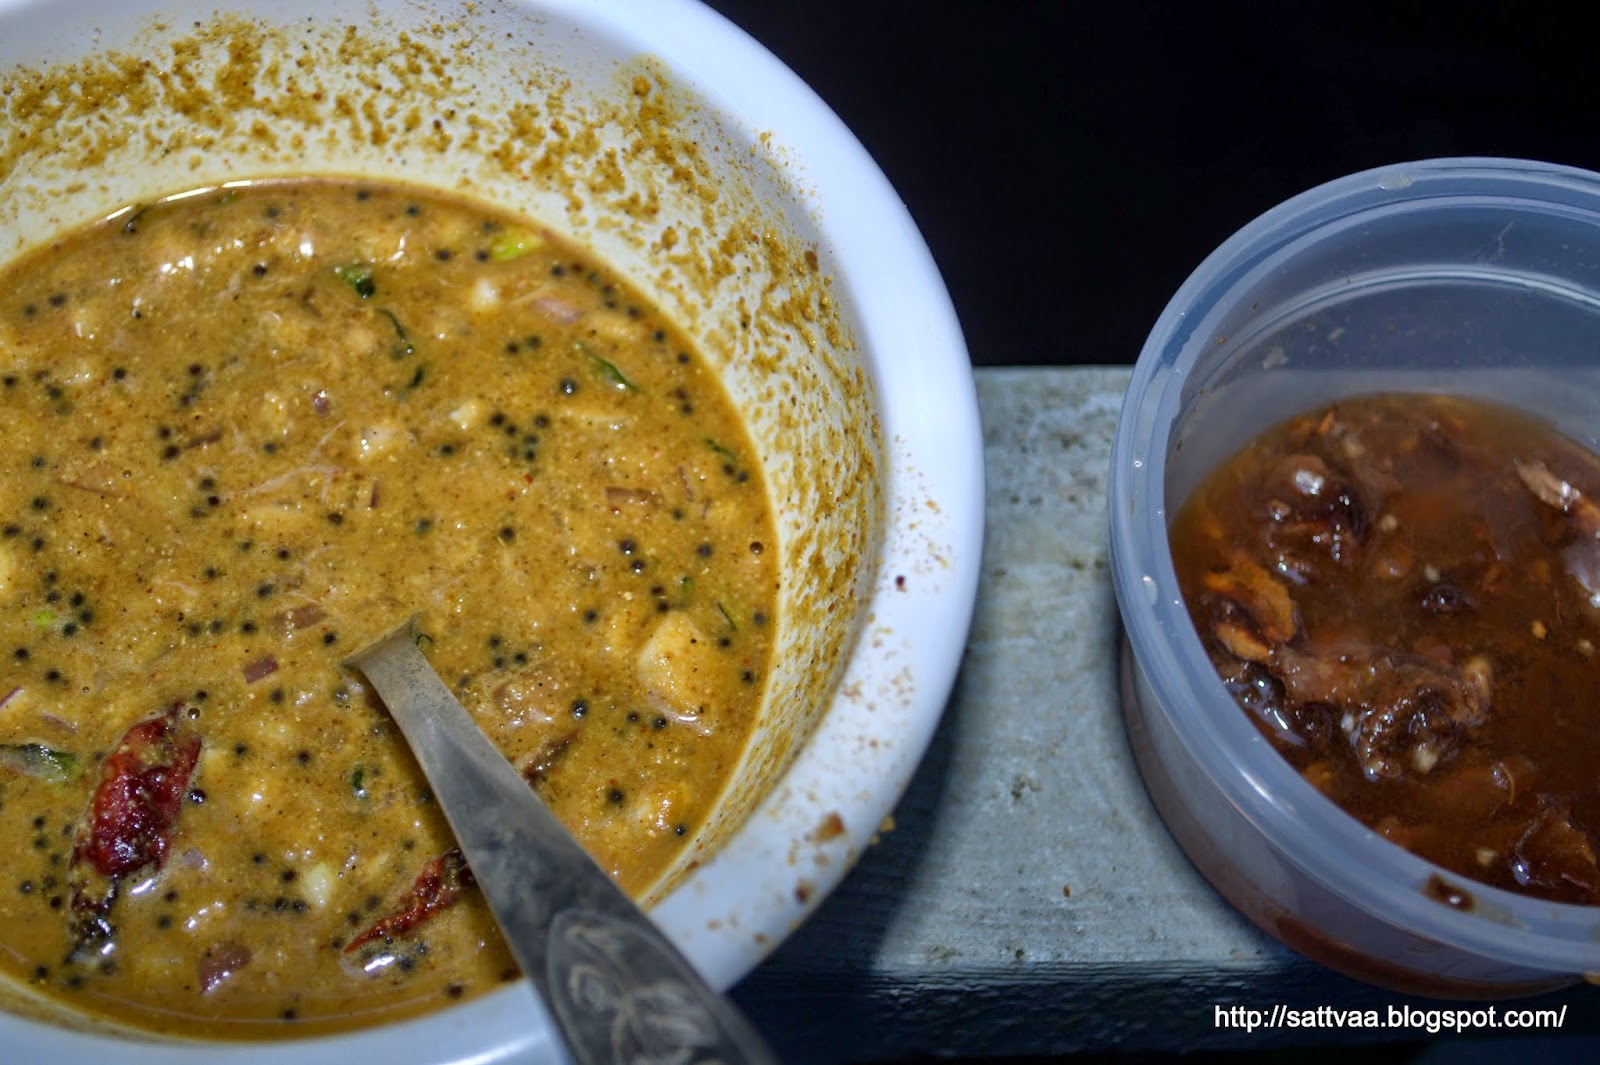
- Mix well, and let it ripen for a couple of days or if you can't resist, go ahead and eat a slice or two (or more) of the fresh pickle like I did :-)
- Lemon pickle turns darker in color as it ages and mellows down considerably in terms of the tanginess.
Notes:
- I used big lemons I get here (almost tennis ball size), it made 4 cups of bite sized pieces
- I prefer kosher salt in pickles as it is closer to the rock salt used in India. Kosher salt is about half as salty as table salt. So adjust the quantity of salt if you are using other varieties.
- I prefer using sunflower oil as Nammamma used it, you can use the mustard oil but beware that it will leave its own flavor which I don't like much in the lemon pickle.
- Pickle rule 1: Use porcelain containers or glass bottles to store pickles for longer storage. No plastic or steel containers please.
- Pickle rule 2: Dry out the containers before using them, here is how I do it - I wash the containers along with lids in soapy water and rinse them multiple times until all soap runs out. Air dry it completely (if you have bright sun and a clean space to keep containers, it works best). Once all the water is gone, use a dry towel to remove any moisture from the nook & cranny of the container and the lid. Finally if it is a glass jar, put it in the microwave for a 30secs to 1 min zap. The idea is that there should ABSOLUTELY no water content anywhere in the container.
- Pickle rule 3: Use clean, dry spoons, knife and cutting board to mix, cut and serve pickles.
- Pickle rule 4: Keep them in a cool corner (away from hot stoves, grinders etc) and store in refrigerator for longer storage.
- Pickle rule 5: Add the seasoning only after the oil cools down to room temperature.
Variations:
- Nammamma made a mixed veggie pickle using slices of lemon, bitter gourd, carrots and green chilies. Tastes delicious but you need to make sure your vegetables are very fresh and cleaned and dried properly. This will have a shorter shelf life compared to the traditional lemon pickle.