Friday, January 31, 2014

Just ramblings, no recipe here today

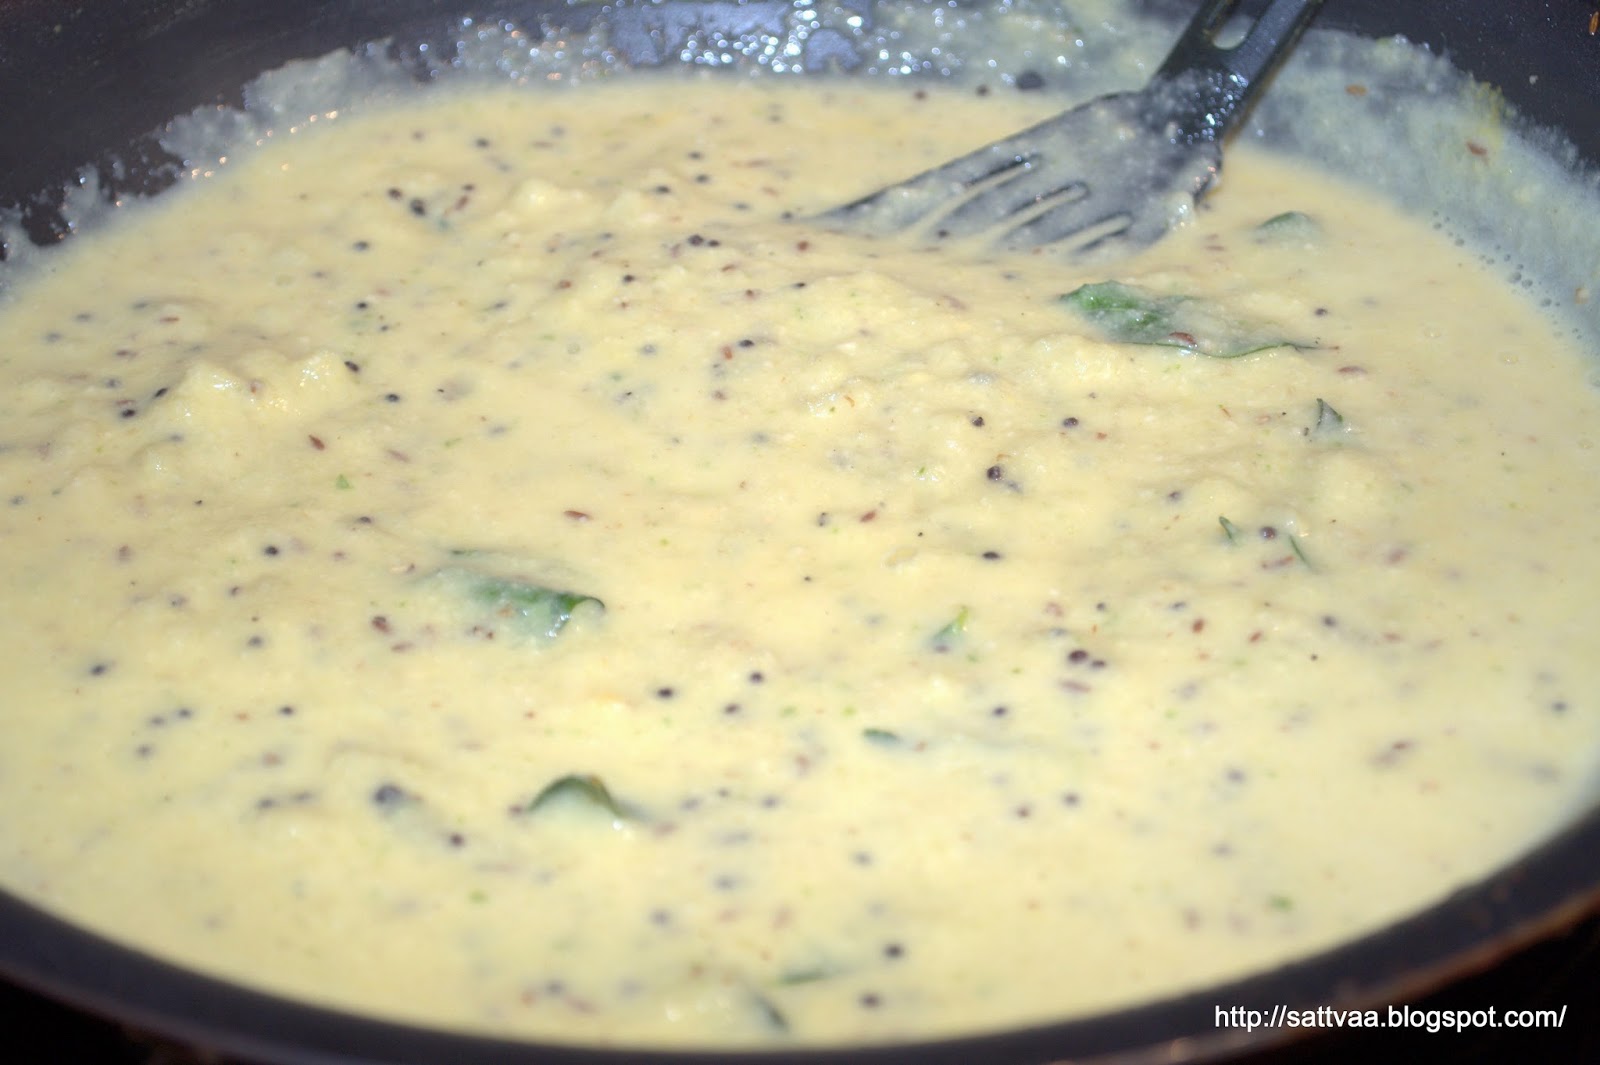
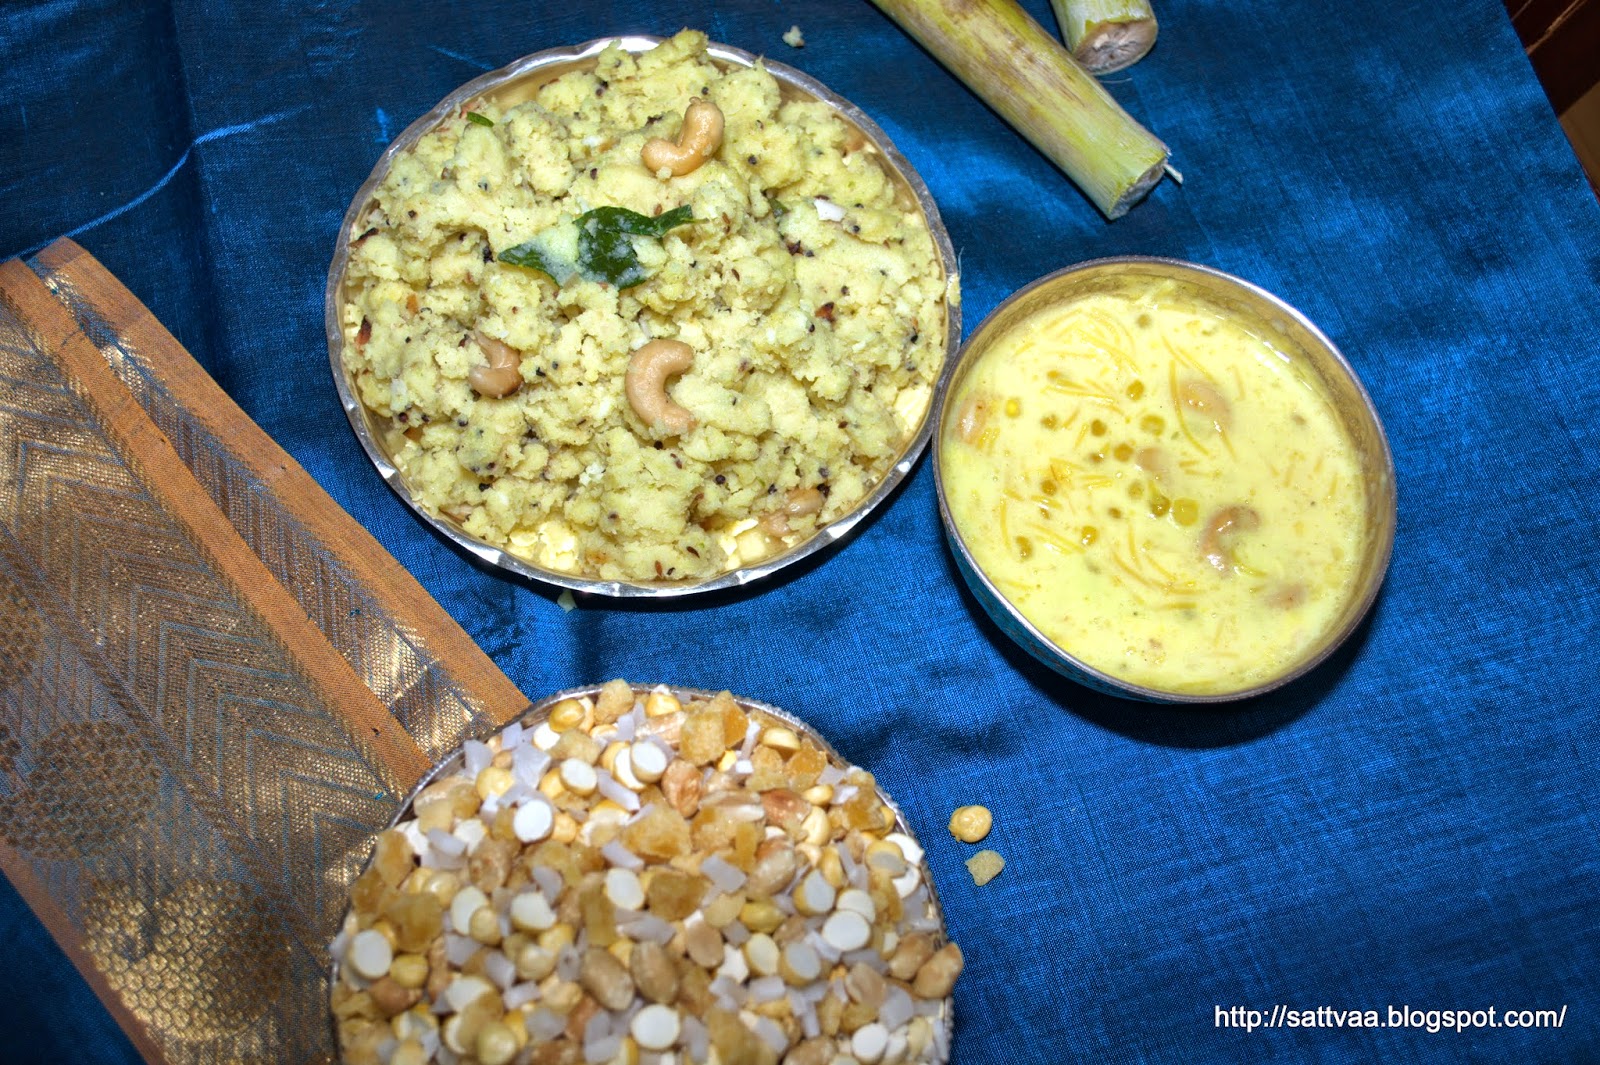
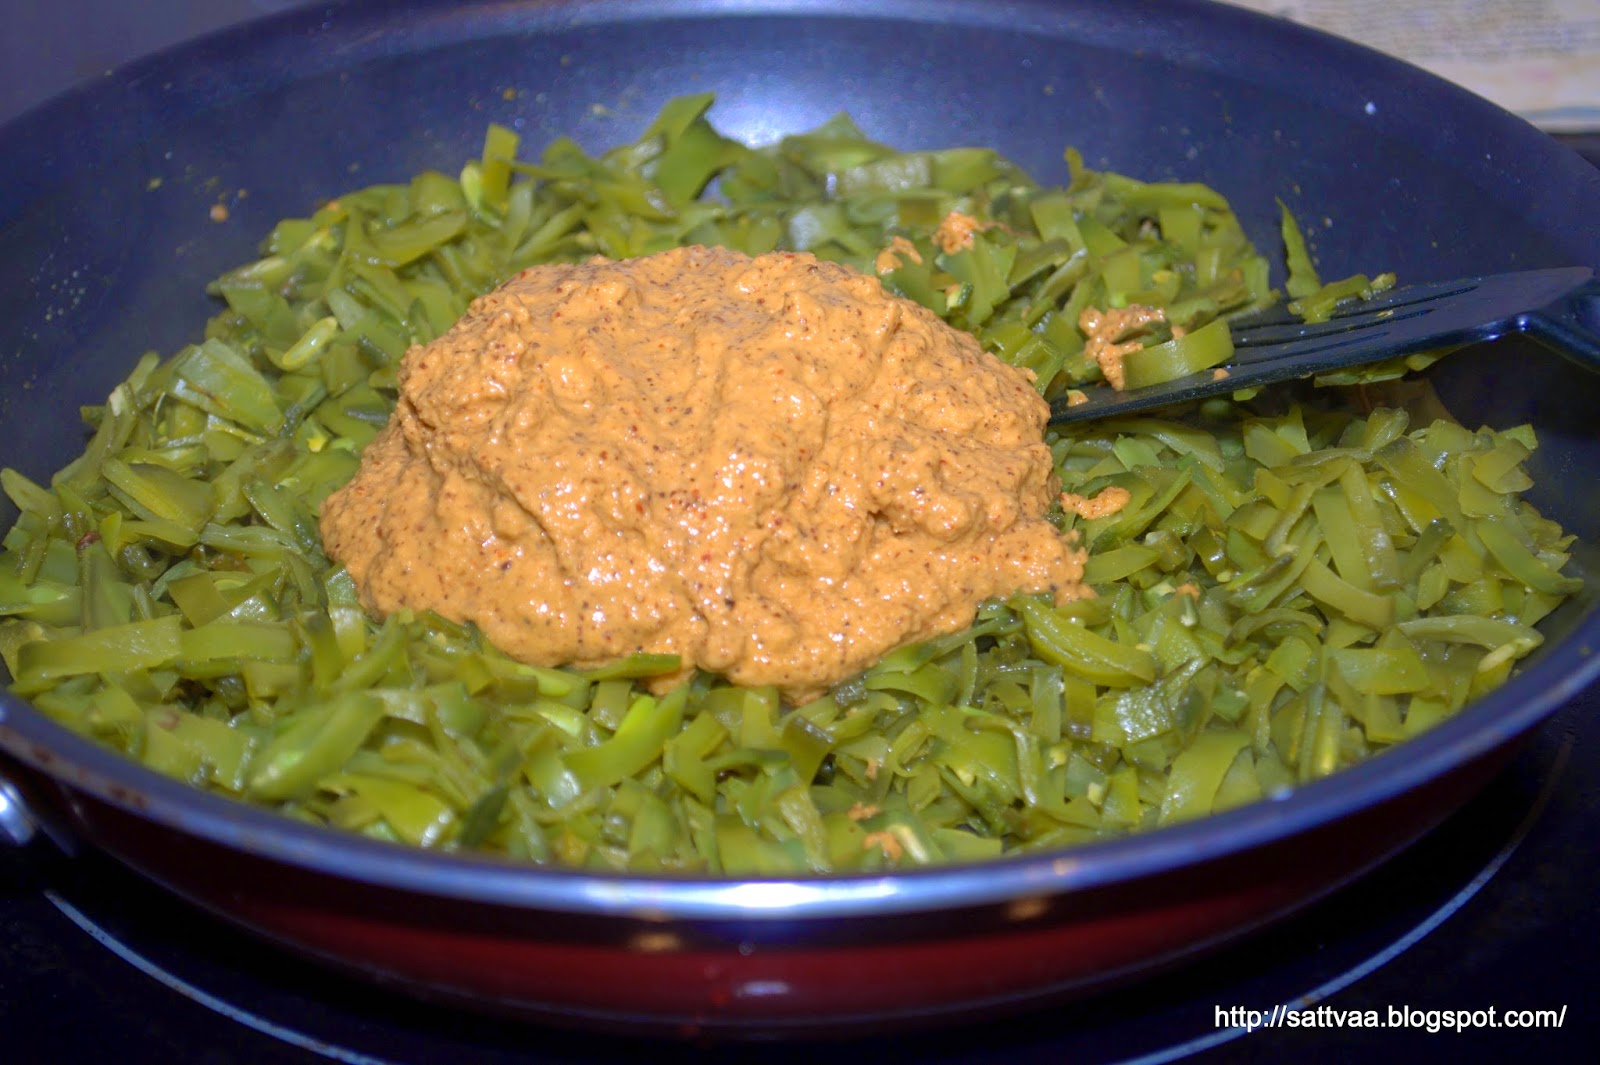
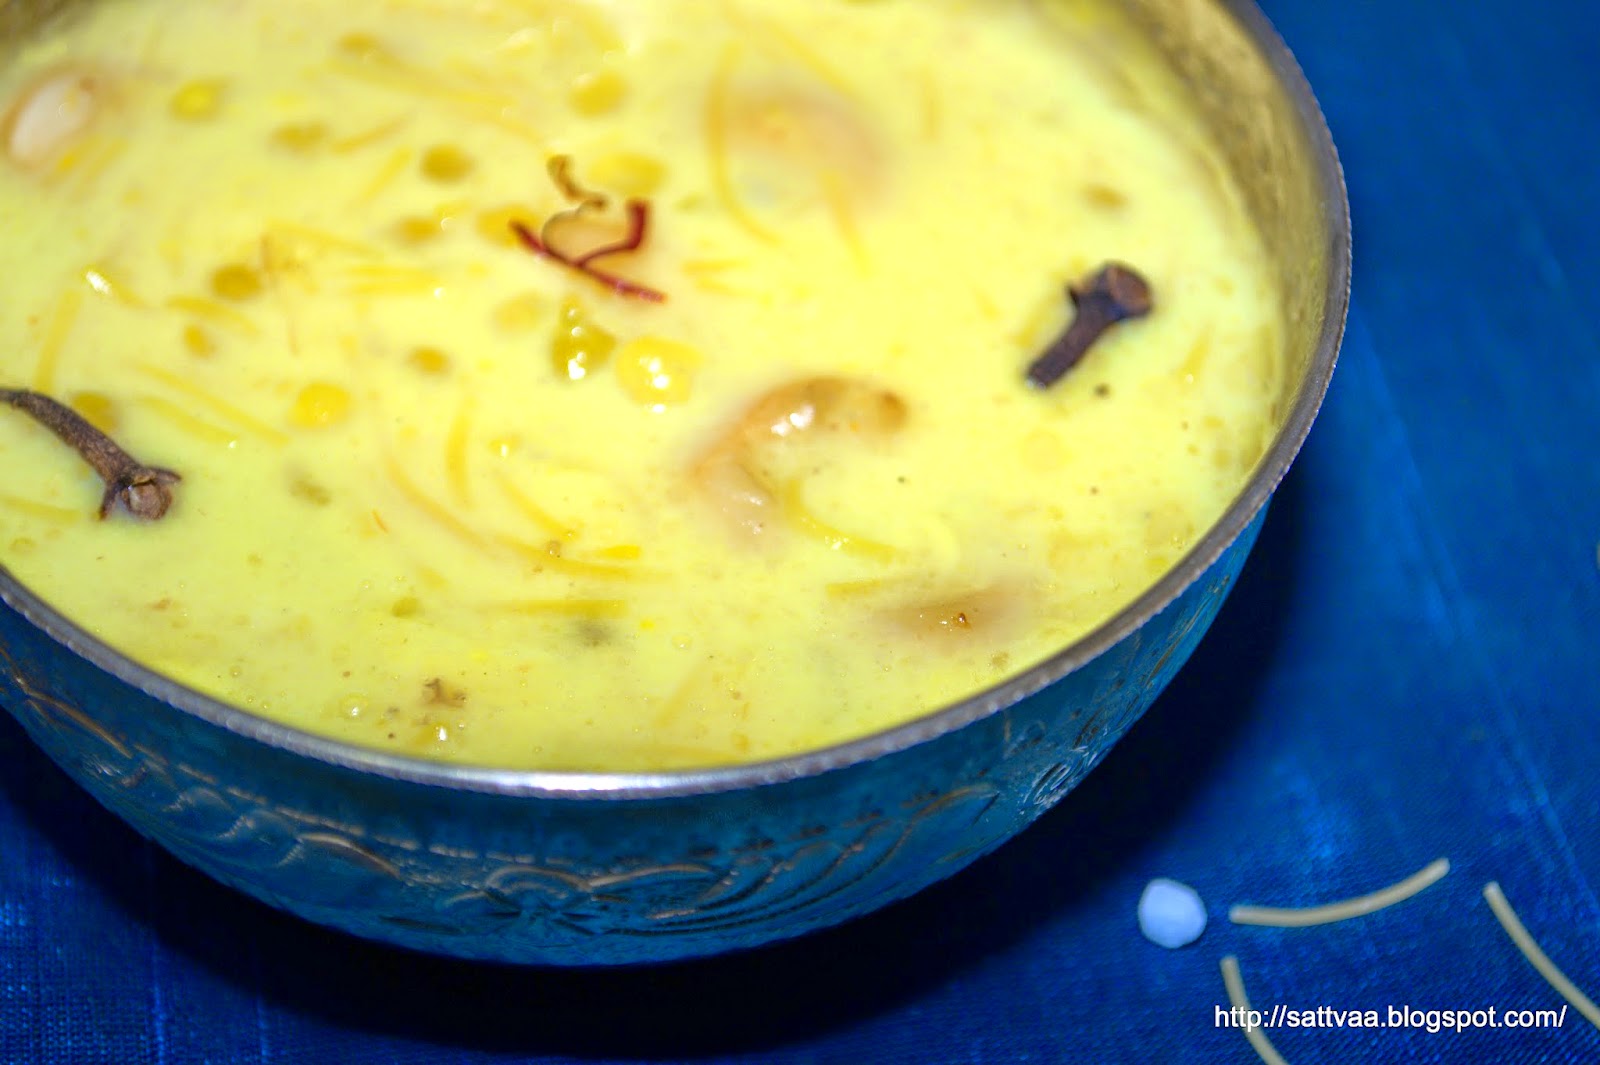
I think I have hit that spot again where things don't come easily off the key board:-). Believe me, I did try and try hard, also thought I would just post a recipe of a beautiful dish I have in waiting and not worry about connecting with past, present, future but didn't feel like it. I am working on a few other aspects of life which is consuming me physically and emotionally and so the blog posts are being left out. Loads of recipes in the drafts but I am not able to connect them with my stories.. so I thought I will not even attempt to post a recipe today. Not that I have a schedule on this blog but usually a couple of posts every week, ah well... Instead I thought I will just talk about something a lot of us in this World are obsessing about this week.

For all sports fans in North America (read it as all 'Football' fans), a big weekend is coming up in 2 days. For us who first got introduced to the sport in Indianapolis with the winning streak of Colts and their well respected coach Tony Dungy, we got hooked to watching it every time Colts played. I am no sports buff and I don't understand the game even now after years of watching it but I have perfected the art of making perfect cheering sounds when the time comes in the game and anyway I only watch the last one or at the most 2 quarters of the game. I am like the lucky mascot (remember Silver linings Playbook and Robert De Niro?, I fill the female version of Bradley Cooper in my household) for my Foot ball crazy rest of the family. While the dad and daughter (who makes sure her home work is all tended to before the big game) sit there and comment, yell at, coach, give up, cheer on and ... in front of the big screen I sit there mostly passively. But I do have some favorites, Peyton Manning topping the list. If you didn't know who he is, he played as quarter back for Colts before moving to the Denver Broncos team last year and this weekend is his first Superbowl leading Broncos. I like him for reasons other than just the sport itself and most of you will probably agree with me if you connect him to the Children's hospital in Indiana.

Now here is the dilemma this Sunday, Broncos with Manning are playing our local Seattle team :-), DD wore her Manning jersey (yeah, despite warnings of dire consequences from her friends she went to school today with #18 on her back :-)), she is a die hard Manning follower. We watched the earlier games the Hawks (Sea Hawks from Seattle) played and they have been super good and we really want them to win their Super bowl this time. And I have a couple of favorites on my new favorite team already :-), so I can see the wavering loyalty here :-). I have a busy day Sunday and will probably not be back home until the last quarter anyway..

If you believe apes can make good speculators (after all they are our ancestors) just like us, the more evolved beings speculate all the time, winner of this Sunday's Superbowl is already picked by none other than Eli the ape in the Hogli Zoo. He has 6 straight picks becoming true so far, much better record than most of our wall street players I would say. Wish I could take him with me on my next trip to the gambling land :-). Enjoy this read ..

All I would say since I don't speculate is "Let the best team take the bowl home this Sunday", I will make some healthy Super bowl treats to dig into during the game for my family and bring them to you next week. Until then, have a wonderful weekend..

Photo courtesy: Bing.com

Tuesday, January 28, 2014

Whole wheat (75%) focaccia - every bite is an explosion of fragrant herbs

Winter is at its peak, most of midwest and north eastern USA has been in the grips of frigid temperatures and icy cold conditions for most of this month. It seems like the weather has turned into one unending white blizzard, I really hope it lets out a little bit and bring in some warm weather for all. We in Pacific Northwest have been really lucky with the weather, while it is not warm, it is not too cold either, nothing you cant manage. I actually took a long 2 hour walk this Sunday as the sun was shining happily in the afternoon, though the temperature was about 45F, I warmed up pretty easily with a brisk walk and a long coat on :-). But what makes me really warm all over is the sight of the 4-5 jasmine flowers, 1-2 hibiscus flowers and a pop of colorful chrysanthemum that light up the inside of our home even in these cold months. The plants in the pots have taken really well to the tube lights hanging on top of the table though it doesn't have any aesthetic appeal. Fresh green leaves are sprouting every few days and blooms show up quite often making the plants fuller and larger. Cold weather is made totally bearable when I look at the tenacity of these small plants..
While the glowing sun and bright flowers fill the heart, I also crave for something warm and comfy in my plate especially for dinners. What is better than the aroma of fresh bread baking in your oven? It is the aroma of herb infused focaccia baking in the oven :-). If you are a regular reader on my blog, you have seen me grow from a very shaky, totally unsure baker to a somewhat confident and ready to experiment baker in the last 2+ years. While I have loved baked goods and baking all my life (or atleast as long as I can remember), I donned my baker's apron recently, mainly after I started blogging. With the enticement of delicious baked goods all around me in the blogosphere and my unending enthusiasm to reproduce those delicacies in my own kitchen, I have no dearth for new recipes to try out. But what makes this recipe here special is that I did some trial and error and hit on a perfect proportion of flour and yeast and everything else needed to make a moist and very aromatic focaccia. While this recipe is not created out of thin air as I had a lot of help from multiple sources on the internet, the details below are definitely something that came out of my kitchen.

Normally I don't post recipes that are very similar, I would rather put them all together and note the variations underneath :-), works perfectly for that lazy brain of mine. I already have a focaccia recipe on this blog so why did I write a new post? Well, for one this recipe here has lot more wheat flour and is definitely healthier than the other one and secondly, I used a home made herb infused olive oil to make this super moist and super fragrant bread. And then there is the definite advantage of a more evolved baker and her tips :-). We had a cousin and family over for dinner last evening and although they know I am crazy about cooking, didn't believe that the deliciously moist focaccia was home made :-). This is pillowy goodness at its best. When fresh out of oven, the bread has a crisp, crunchy outer layer and soft, bouncy inside and as it cools down, the bread becomes soft all over. Perfect to slice open and make a sandwich or lip smacking to just dip in oil and enjoy.
I started with a 60%-40% whole wheat and bread flour the first time and advanced to 75% whole wheat flour the last time I made it. I am confident that a 100% whole wheat focaccia is in the pipeline with this recipe, I just need adjust the liquids a little bit. My family simply loves this and if the request for increased number slices in the snack box is any indicator, the bread has found some fans in DD's school and looks like there is quite a bit of demand on that front.

Another reason why I am on a baking spree now a days is that I have got a new kneading assistant. This new assistant of mine gets to work without any complaints or sour face (unlike BH who would find very believable excuses to be busy until the baking aroma wafted through the air and out of the kitchen). It is bright red in color and sits beautifully in the corner on my counter top and the best part is I don't end up with any sticky surfaces or multiple bowls to clean afterwards. Yep, I am talking about my new stand mixer, I got it for a bargain at Costco during the Holiday season and I am in love with this gadget - one of the sensible purchases I have made in the recent past. I have been devising excuses to put it to work every so often on the pretext of baking :-)
What do you need to make herby focaccia?
3 cups whole wheat flour (I used Bob's Red mill flour)
1 cup bread flour
1/2 cup warm water
3/4 cup (+1 Tblsp if needed) warm milk
1 Tblsp active dry yeast
1 Tblsp sugar
1.5 Tblsp salt
1/2 cup herb infused olive oil - divided use
Toppings (this is what I normally use, look in Notes below for other ideas): 
Grated cheese
caramelized onion
thinly chopped garlic
Sliced tomatoes or halved cherry tomatoes
pickled jalapeno
herbs (rosemary, basil, oregano, thyme etc)
couple pinches of coarse salt

How do you make herby focaccia? 
  • Add 1/2 Tblsp sugar to the yeast and mix in warm water. 
  • Keep aside for 4-5 minutes for it to ferment and prove that it is alive. 
  • Measure dry flours in a wide bowl, add remaining sugar and salt followed by the fermented yeast. Mix it together.
  • Add the remaining water, herb infused olive oil(reserve 1.5-2 Tblsp for later use), and mix well. At this point the dough is just wet. 
  • Start adding the warm milk to make a soft dough. I used 3/4 cup of milk, it depends on the flour quality. 
  • Once the flour comes together into a single mass, take it on to a flat surface and knead it for 8-10 minutes until it is soft & pliant. I used my latest addition to the kitchen, a red colored stand mixer to do the heavy lifting and it did a beautiful job :-). 
  • Take the dough into a bowl and cover it with an oiled cling wrap and let it rest for an hour to 90 minutes until it doubles in size. 
  • Punch down the dough, stretch it on an oiled cookie sheet and poke dimples all over. 
  • Sprinkle the reserved olive oil, and top it with chopped herbs.
  • Cover and let it rise for another 30-45 minutes.
  • Add caramelized onion and grated cheese on top. 
  • Bake for 25-30 minutes at a 400F pre heated oven until the top is golden brown and a tooth pick inserted in the center of the bread comes out clean. 
  • Take out from the oven, slide the baked focaccia onto a cutting board, let it cool for a couple of minutes, cut them into wedges, squares or rectangles and serve it with some more herb infused olive oil on the side as a dip.  
How do you make herb infused olive oil? 
  • Take 1 cup of olive oil in a sauce pan, add 2-3 cloves of garlic (peeled and slightly crushed), 1/2 Tsp dried oregano, 1/2 Tsp Thyme, 1/4 Tsp black pepper crushed and a pinch of salt. I used all dry herbs this times given the unavailability of fresh ones. You can replace fresh herbs in season and also use a single kind of herb (basil or rosemary) to 'aromatize' your olive oil. 
  • Let it come to a gentle boil on low heat. Switch off and let it cool completely. 
  • Strain the oil using a sieve and use it in focaccia or as a dip for any freshly baked bread. 
  • This oil keeps well at room temperature, stored in dry & airtight containers. Keep them in unlit corners of your kitchen. 
  • You can store them in the refrigerator but will crystallize because of the temperatures, you can microwave or heat on stove top lightly before using. 
Notes: 
  • If you are making this for a kids party and want to make it cheesy, add grated cheese to the dough to the last few kneads and knead it well into the dough. 
  • You can skip milk totally and use only water, I like the softness and the hint of sweetness milk gives especially when you use whole wheat flour.
  • I made focaccia with caramelized onion last evening, but any topping of choice can be used, some suggestions are pickled jalapeno, sliced tomatoes, grated cheese. 
  • If you love an intense garlic flavor in your focaccia, peel and slice a couple of cloves of garlic thinly and push them into the dimples when you sprinkle oil before the second rise. 
  • Rosemary is a very popular choice of herb in focaccia world, if you dont get it easily or do not like the aroma, use any other herb you prefer. I have used dried fenugreek or kasoori methi and mint which works beautifully too. 

Thursday, January 23, 2014

Rave(a) Pongal - Expect a 'twist' in the recipe and taste

It has moong dal (standard Pongal/khichdi ingredient) and Rava (also pretty standard), so how different can it be from a regular pongal? Try this recipe out and I am sure you will fall in love with the strong moong dal flavor. If you are looking for a change from the usual pongal but still want that warm & cozy feeling, make this dish.

When nammamma was visiting us last time, she taught me this recipe she had seen in one of the Kannada magazines. Since I don't have the details of the source, I would imagine it was either Sudha or Taranga which she read regularly. She wasn't cooking regularly here as it was an unfamiliar kitchen and when she visited us, I either wanted to pamper her by cooking for her or show off my cooking skills and didn't let her cook every day meals except for the SIL's favorite dishes. When it came to Mysore Pak, Kodubale or Vangi bhath all that the SIL had to do was just open his mouth and say, "it has been a long time since I ate it" and the next minute I would have my mother literally on my back pestering me to give her the ingredients and clear out of the kitchen :-). If I insisted on hanging around on the pretext of watching her technique, she would make sure she had complete control of the spatula (nothing works without it, right?) and sat by the stove and delegated me to my rightful role of a sous chef 'grind this in the mixie' or 'chop this vegetable' kind of menial tasks while she donned her chef cap. This pongal/khichdi was one of the few dishes she made all by herself as she didn't think I was ready to cook it well so the Moong dal cooked thoroughly :-). What I wouldn't give to have those days back again..
Last week during Sankranthi habba, I was thinking of amma more than I usually do, it happens sometimes.. given the physical distance that separates us, the inability to run and sit by her every time I want to makes it harder. I made the ellu bella, shared it with a few friends here and brother who lives nearby and on the day of Sankranthi, I couldn't think of anything to make. Finally I ended up with two dishes with strong ties to nammamma and enjoyed eating them while thinking of her.

What do you need to make Rave Pongal?
1/2 cup Moong dal/Hesaru Bele/Pesara pappu
3/4 cup upma rava
1 inch piece ginger
2-3 green chilies (adjust to taste)
10-12 curry leaves
1 Tsp cumin
1 Tsp mustard
1/2 Tsp black pepper
5-7 cups water - depends on the consistency you want
2 Tblsp dry coconut/kobbari grated
1 Tsp salt (adjust to taste)
1 Tsp ghee
2 Tsp oil
6-8 cashews
How do you make Rave Pongal? 
  • Soak moong dal in water for 45 mins to an hour
  • Roast upma rava on medium flame until it turns light pink (3-5 mins)
  • Wash, drain the soaked moong dal.
  • Grind moong dal, green chilies, ginger and salt with 1 cup of water. 
  • Heat a big pan, add the grated dry coconut and roast for a minute or so until it turns light pink and gives out the aroma. Keep aside. 
  • Add ghee + oil and let it heat up.
  • Add mustard, when it splutters, add cashews and let roast for a minute. 
  • Add coarsely crushed pepper and cumin, roast for 15 seconds.
  • Add curry leaves.
  • Add the ground moong dal paste to the pan stirring continuously.
  • Add 2 more cups of water, reduce the heat to low and continue stirring for 4-5 minutes until moong dal turns into a soft pulp and loses the raw smell.
  • Add the remaining water, mix it and let it come to a gentle boil.
  • Add the roasted rava in a steady stream continuosuly stirring.
  • Cover and cook on low heat for 8-10 minutes until rava absorbs the water and cooks fluffy.
  • Sprinkle roasted coconut on top and serve warm with a chutney, sambar or raita. 
Notes: 
  • Unlike regular pongals or khichdi, Moong dal is not pre cooked here but that is what gives it the distinct taste. Make sure you cook it on slow flame until the raw smell is gone. 
  • Take care to not let lumps form when you add the upma rava, reduce heat to low before streaming the roasted rava. 
  • I added part of the seasoning on top for photos :-), you can either do that or follow the recipe above and start with the seasoning.

Sunday, January 19, 2014

Avarekayi gojju - creating drool worthy dishes from ingredients on its way to be discarded :-)

If you speak Kannada and saw my title of the post and if you are like me, you would have thought that I made a typo and said 'avarekayi' instead of 'avarekalu'. For the non-Kannada speaking readers, here is a description of the nuance I am talking about. 'Avarekayi' refers to the pod that holds the beans while 'Avarekalu' is the beans nestled inside the green pod. Now what is the big deal? Again, if you are like me, madly in love with avarekalu - (this being seasonal and tropical, getting it where I live currently is mostly a dream) you will be drooling at every rare sighting of this aromatic bean. But for last 2 years, I have found them in my grocery store atleast once a year (and twice when I was extremely lucky). Though it leaves a seriously visible dent in my finances, I can't stop myself from buying a couple of pounds on that one day when it appears in my local store. Many of my non-Kannadiga friends including BH's family doesn't seem to appreciate my un explainable drooling over this bean, all I can say to nay sayers and non-believers is, "Give it a try before you unfairly talk about it". Most of them are converts after a first taste. Long live Avarekalu!
Back to my title today, I did say avarekayi while I have been going on about how much I love the bean. In Karnataka, these beans are brought home, peeled, the beans are cooked and used in dish 1, 2 , 3, 4.... every day until the season is over and the stock is completely dry while the green empty pods are put outside the fence to feed the roaming cows. Oh, yes I come from a place where cows roam freely, atleast they used to when I left my town 15 years ago. Now with the unending traffic, they seem to not want to move about at all for the fear they might get bumped by a 2, 3, 4 or 6 wheeler. Anyways, the point I was making before I strayed off topic (much like the cow) is that we do not use the green pods, atleast I was not aware of it and nammamma never made anything out of it. I think the reason is you are smitten by the beans and most of the dishes in Karnataka need the bean to have grown fully and plump by which time the pods are pretty dry and tasteless, The only dish I have had which uses this pod in entirety is my favorite Gujarati recipe - Oondhiyu. The empty green pod is called 'sippe' in Kannada, a culinary derogative term to indicate a waste or byproduct :-). Why am I giving you a recipe of the sippe gojju or a curry made of the by product? There is a somewhat long story.., stay with me here and I promise I will treat you to a keeper recipe today.

I hadn't been to the grocery store in a couple of weeks as my refrigerator somehow seemed full all the time and finally when I went last week to do some Sankranthi shopping, I found a tub full of green avarekayi. I jumped, picked up a bag, filled it greedily to the brim before other like minded chefs and fans of the bean noticed it and very happily paid a 2 digit amount and came home. As always, DD wanted Avarekalu kadubu, this strange child of mine has some set food combinations and will not waver from them unless there is a calamity. So after dinner and clean up, I put the bag on the dining table to peel them and take out the beans. I got 3-4 good, plump beans for every 20 or 25 pods I picked and at the end of a 30 minute effort, I was left with a mountain of green peels and a small mouse sized bowl full of beans. The avarekayi had been picked way too young for the beans to have grown sufficiently and I had paid a ransom for the waste :-(. While I was sitting all bummed at the table, BH happened to pass by and asked why I had a long face. After listening to me, he very simply said, "make something with the pods". I know he has been a consultant and dishing out ideas is second nature to him but this seemed like a viable thing even though it came from a consultant :-) I do accept it had not occurred to me until then and will generously give all lateral thinking credit to the man.
Here was an idea at a 10,000 feet level, no details to substantiate and make something edible out of it. Now I had to think of what to make with that green mountain staring at me. It is strange how the brain works, a minute ago I was mournfully looking at that pile and thinking how a cow (or two) would have been made happy if I was in India, here I don't see cows easily let alone stray ones that could be fed the green waste from my kitchen.. I know I know I am going off track again but as soon BH uttered those words, within minutes I knew what I was going to make with it. There is another variety of vegetable from the same genre called chapparada avare kayi (Kannada) and chikkudukaya (Telugu) which we use to make many a dry curry with powders and also a gravy dish. Belonging to the same family of vegetables, there is some similarity between the two. I love my gojju any day and gojju it was going to be with the avarekayi. That was how a keeper dish was born in my kitchen. I am sure my mom and sister will have a hearty laugh to hear I used the pods in gojju, but then such is life.
I have a few different gojju recipes on the blog already, check in my Recipe Index under 'Tasty Gojju' category as there are too many to list here. Today's gojju however is very different from those already here and I was saving this for later, the same ingredients can be used with chapparada avarekayi/chikkudukayi also. As my story today has already grown long, I will stop here and give you the recipe quickly. The beauty of this recipe is its simplicity and unmatched flavors, don't go by the unassuming pictures.

How do you make Avarekayi gojju?
2 cups of thinly sliced avarekayi (see recipe for details)
1 Tsp salt (adjust to taste)
1/4 Tsp turmeric powder
4-5 curry leaves
1 Tsp oil
small gooseberry sized tamarind
1 Tsp jaggery/brown sugar
2 Tblsp shredded coconut (fresh or frozen)
Gojju masala:
1 Tblsp mustard
1 Tsp chana dal
1/4 Tsp fenugreek seeds
1 Tsp oil
4-5 dry red chilies
1/8 Tsp asafoetida
Seasoning: 
1 Tsp oil
1/2 Tsp mustard
1/2 Tsp chana dal (optional)
1/4 Tsp Fenugreek (optional)
1-2 dry red chilies

How do you make Avarekayi gojju? 
  • Wash the avarekayi, see that these are tender and not full of plump beans. The way to test is the beans inside are either completely absent are very tiny and when you string the pods from the side, you do not get very thick strings. Basically you are looking for fresh, green and tender pods. 
  • String them and chop the ends and discard. 
  • Holding a few (as many as you can manage with hands), chop them into thin slices. 
  • Heat 1 Tblsp oil in a pan, add the chopped avarekayi, chopped curry leaves, turmeric powder, salt and mix. 
  • Cover and cook on low heat for about 8-10 minutes until the color changes to a light green and the strips look soft and cooked. 
  • In the meantime, heat 1 Tsp oil in a pan, add the ingredients listed under "Gojju Masala" and roast them until mustard starts to pop and chana dal and fenugreek turn golden brown. Do the roasting on medium heat. Switch off and let cool. 
  • Take the masala once cooled, add coconut, taramring and jaggary and blend it to a smooth paste using water. 
  • Add the ground masala to the cooked vegetable, mix, test for taste and adjust. 
  • This dish does not have a lot of gravy, but a wet curry with masala coating the vegetable. Let it boil for 4-5 minutes. 
  • Seasoning this with mustard and fenugreek is optional. Use the ingredients listed under seasoning if you prefer. 
  • Serve warm with rice or roti. 
Notes: 
  • Obviously this dish can be made with the chapparada avarekayi/chikkudukayi which is more easily and frequently available. 

Thursday, January 16, 2014

Payasa of the sabbakki-shavige variety (Kheer with Tapioca & Vermicelli) - a sweet offering on occasion of Sankranthi

Once again Happy Makara Sankranthi (belated this time)!. I know I messed up on my Sankranthi posts this week, things have been busy and I didn't time my blog posts though I cooked and ate a lot. The regular fare of ellu bella had been in the making for the last 2 weeks. BH had a brilliant idea and put the plates with chopped jaggery, dry coconut etc under the bright light we have for the indoor plants so they crisped up by that heat (just like Nammamma makes by putting them out in the Sun for a day or so) and taste delicious. I also made a pongal (totally different way, recipe will show up soon here) and this payasa (Kannada), payasam (Telugu), Kheer (Hindi) or sweet porridge (English) as part of the festival cooking. Very simple and quick if you plan a little ahead, this is a favorite at home.
DD has always been in love with payasa and that would be the only alternative to her all time favorite Gulab jamoon for her birthdays. So the tradition of payasa on her birthdays was on regularly until a couple of years back when I burnt the payasa, though I quickly transferred the contents to another pan the scalded smell had already permeated all of our new home and definitely the nostrils of my over sensitive child. Not only did she refuse to eat the sweet that day, she made me promise that I will not make payasa again for her birthday. So the birthday sweet changed to the next favored dish and since I have not messed it up, she is happy.

There are several different varieties of payasa and this is just the tip of the ice burg or the crown of the group. I learnt to enjoy eating payasa from nammamma and learnt to make a perfect, creamy payasam(paramannam) from amma. For as long as I remember, payasa was Nammamma's favorite dish to make on a birthday, so we would without fail have this dish on 6 ocassions in the year in addition to other days. She makes it mainly with semia/sevia (roasted vermicelli - this is a processed wheat product and not the rice vermicelli I talk about here) but I add Sabudana (also called Sago, sabbakki, saggubiyyam or Tapioca) to it as DD loves those pearly white additions.
Flip to amma's kitchen, payasam and peruggarilu are 2 dishes I have seen her patiently standing over the stove and make, she is not a very enthusiastic cook for the most part and is usually on the lookout to get out of the kitchen as quickly as possible. However these two are her signature dishes, I don't think she has the confidence to hand those over to me yet and I am happy to lay back and enjoy :-) when she makes it. But in the absence of both my ammas this time around, and also to serve the self interest of blogging a delicious dish on the blog, I decided to make this delicious sweet for Sankranthi and was very careful to not let milk become too cozy and adhesive to the pan.

For the uninitiated, payasa is a sweet dish with a consistency thinner than jello. The creaminess comes from milk (usually whole milk but I cheat) or cream. Traditional payasa is made thicker by slowly reducing milk on low heat which also imparts a wonderful aroma to the dish.
What do you need to make Sago-Semia payasa?
1/2 cup sago (soaked for 30 mins to 2 hours)
1/2 cup roasted vermicelli
4 cups milk (I used 2 cups of 2% and 2 cups of fat free)
3/4 - 1 cup sugar (I used 3/4 as we dont like 'too sweet on the tongue' payasa)
1.5 cups water
2 green cardamoms
2 cloves
5-6 strands saffron
Garnish:
1 tsp ghee
cashews
raisins

How do you make Sago-Semia payasa?
  • Wash and soak sago in water for about an hour. This is optional but reduces the cooking time drastically.
  • Rinse off the water, wash the pearls under running water once more. 
  • Cook sago in 1.5 cups of water for 45 minutes or until it is transparent. Keep stirring every 5 minutes or so to avoid burning. 
  • Once Sago is cooked (to test: hold a pearl between 2 fingers and press, it should give in easily without any hard touch at the core).
  • Add the roasted vermicelli (I used pre roasted, thin versmicelli - MTR brand). If you do not have pre roasted vermicelli, dry roast it on medium flame constantly stirring until it turns light pink in color. 
  • Mix and add 2 cups of milk (2% at this stage) and let it cook on medium heat, stirring frequently until vermicelli turns soft. 
  • Add sugar, saffron strands (crushed a little between palms) and the remaining 2 cups of milk and let it cook and boil gently until the consistency thickens.
  • Powder cardamom and cloves, add it to the payasa and switch off. 
  • Heat ghee on low heat, add cashews and raisins and roast until cashews turn golden brown and crisp. Add it to the payasa. 
  • Payasa can be served warm or refrigerator cold, both taste delicious. 
Notes: 
  • Get medium sized sago for this dish, very tiny ones will kind of dissolve and not hold shape while the large ones make a 'un-dainty' appearance:-)
  • You can cook sago in pressure cooker for 2-3 whistles - cooking time varies with pressure cookers. I personally like the open cooking as I know when to stop cooking the sago and there is no cooling/waiting time needed. 
  • Keep stirring the sago occasionally so it doesn't form the sticky layer on top or get stuck to the bottom.
  • Cooking both sago and semia to perfection is the only trick in this divine offering.
  • Instead of crushing saffron and adding it directly to the pan, you can soak the strands in a spoon of milk for 15 minutes and add it. 
  • Do not use condensed milk or dry milk, reducing fresh milk to the desired consistency is what gives an authentic and yummy taste to this dish. The time you spend at the stove for making this dish is totally worth the taste.  

Wednesday, January 15, 2014

Kofieebroodje - let us start the 2014 Baking Partner's challenge with a Dutch Coffee Bun

Happy Makara Sankranthi to all my readers who are celebrating the festival. This is the harvest festival in India and recipes rich in ingredients newly harvested are prepared, shared and enjoyed. Well, are you wondering that you have never heard of a Kofieebroodje in any part of India during Sankranthi? Okay, this is not a Sankranthi dish, it is not even an Indian dish. This came from Amsterdam where one of our Baking Partners Kaveri resides. And since it is the 15th of the month, a good rule abiding baking partner that I am, I chose to post this recipe instead of my Sankranthi goodies today :-). I can hear some of you muttering that if I were any good blogger worth my salt, I would have planned this and brought timely Sankranthi recipes. So, until I can get my act together and get the Sankranthi recipes for this year, look at these previous year's posts here, here and here. There is plenty of harvesting going on in these posts already.

With that explained to everyone's satisfaction, now back to Kofieebroodje or the Dutch Coffee Buns. There were 2 choices this month, one for a tart apple pie and another for these coffee buns. Here we are in the first month of the new year and I was thinking of reducing/eliminating all processed food from my cooking and eat better, but then the lure of baking partners is too great to resist. So I let my resolve go down South a little bit but made it up by not eating too much myself but sharing it generously with people around me. I know, I know, it sounds so totally selfish but they didn't have any such resolutions and I was upfront in telling them that the delicious looking pastries had all purpose flour, butter and sugar. What can I say, I am a very honest gal and I didn't want to let go of my resolution so early in the year either, there are 350 and odd days to do it anyway.. :-)
As many of you already know, I am part of this fun group of home bakers called Baking Partners, Swathi who started this group very diligently reviews out suggestions and gives us a couple of shortlisted recipes every month. I picked the Dutch Coffee buns this time (since it sounded like the easier of the two :-)) called Kofieebroodje. They are like most of the pastries you get in bakeries but the best part is that they are not overly sugary but have just the right amount of sweetness and a little tang from the jam on top, the slightly flaky crust is made moist with the jam. I am told these are served as mid morning snacks over a cuppa when you meet up with neighbors/friends but you don't have to organize a 11AM meeting specially to consume them, they taste good any other time of the day also :-). The dough itself is very easy to work work, much like a 'less buttered up' cookie dough and is a novice baker (a.k.a me)'s dream come to true. You get to create something so professional looking and tasty without any fuss.
I made my first batch of Kofieebroodje a week or so ago. Since I have been experimenting quite a bit now a days, DD was rightfully apprehensive about trying a new dish when I offered her the warm buns the first time. She was in her room studying and I took one in a plate and as soon as she took a bite, the face exploded in a big smile and then came a hug and then after 30 seconds when all of that bun had gone inside came the request for 2 more and 'make it quick amma' she says! I had halved the original recipe since I didn't want to make too many of them but the dozen Kofieebroodje were gone before the Earth had twirled once around its base. So I made them again the second time and added some roasted and crushed almonds and experimented with an apple sauce layering for half the batch instead of the pudding. And the batch is looking thinner and smaller since the last 4 hours or so of making them :-). These stay well without dripping and being squishy, so they are perfect for a kids party or for taking over as a present for a host.
What do you need to make Kofieebroodje?
Recipe source: The Dutch Table
Makes about 12 Kofieebroodje
1.5 cups All Purpose Flour
1 Tsp Rapid rise/bread machine yeast
1/2 cup + 1Tblsp milk (lukewarm)
2 Tblsp sugar
1.5 Tblsp butter (at room temperature)
1/4 Tsp salt
1/4 cup raisins (I used golden raisins)
1/2 Tsp Vanilla essence
8-10 almonds (I added this on my second batch, not in the original recipe but made a very favorable difference)
For the cream/custard:
I used single serve cups of vanilla pudding from the store. It took me 2 cups for this measurement
For the glaze on top: 
2 Tblsp Apricot jam (or any other favorite flovor)
couple of drops warm water (to loosen up the jam to a spreadable consistency)
How do you make Kofieebroodje? 
  • Soak raisins in warm water for 15 minutes, once they plump up a little and soak up the water, drain the water and keep aside until ready to use.
  • Toast almonds in microwave or stove top until toasty and pound/chop in to small pieces. Keep aside. 
  • Mix flour, salt, sugar and yeast in a wide bowl. 
  • Add butter and vanilla essence and mix it in homogeneously. 
  • Add warm milk slowly to make a soft and pliant dough. 
  • Knead for a couple of minutes to get the yeast going. 
  • Cover the bowl with a cling wrap and let it rise in a warm corner of your kitchen counter. 
  • When the dough doubles in volume (about 45 mins to an hour), punch it down and knead to a smooth ball. 
  • Divide the dough into 2 and roll each ball into a rectangle of about 12inch X 12 inch. 
  • Spread the pudding in a thin layer on top leaving 1/2 inch from the edges on all sides. 
  • Sprinkle chopped nuts, soaked raisins.
  • Roll the rectangle from one end to the other, closing the edges to prevent pudding from popping out too much. 
  • Cut the roll into 5-6 pieces (depends on your preference for size), take each piece and set it on a baking sheet lined with parchment paper. When you put the pieces on the baking sheet, turn them to have one of the cut surfaces on top so it bakes beautifully with those concentric circles not getting smudged. 
  • Cover and let them proof for 25-30 minutes. 
  • Brush lightly with milk (gives that wonderful glow and golden hue), add a few more raisins on top if you like and bake it in a pre-heated oven at 350F for 25-28 minutes. 
  • Mix the jam and a couple of drops of water and give it a good stir. 
  • Take the baking sheet out of the oven, brush the jam all over the hot pastries. 
  • Let cook and if you want give another coating of the jam once it cools down. 
  • Serve warm or cold with or without coffee :-)
Notes: 
  • The second time I made this, I used unsweetened apple sauce for half the batch instead of the pudding. It worked very well. 
  • I added the nuts the second day (smarter me :-)) as I have said before I am nutty about nuts and find excuses to throw some in every opportunity I get. DD said they gave a nice crunchy bite. I used almonds but use any toasted nuts of your choice. 
  • You can prepare custard or pudding at home and use it to layer, make sure the consistency is right so it spreads easily but doesn't run. 
  • You can add any frosting of choice on top instead of the jam but I didn't want to make too many changes as I was posting the recipe as part of the group. 
This recipe comes to you from the Baking partners

Sunday, January 12, 2014

Avalakki(Poha) Vaggarane - orange, yellow, pink, green and black, what other colors can you spot in this delicious comfort of food?

The other day I was making a list of dishes I would like to post on the blog in the next couple of months (yes, I am organized, and no, it is not a new year resolution :-)) and I noticed that it was only made of special items or things I would prepare on occasion. I guess I was thinking that nobody really cares about the every day preparations unless there is something to make them stand out or in other words there is a 'twis(h)t to the story' :-). It is probably true, with hundreds or even thousands of food blogs, cookery shows and cook books, things tend to get repetitive from one source to the other especially with common items and it takes every blogger constant effort to keep things fresh and unique. But then there are some things that should not need to change, these are some of the comfort foods in every kitchen and every day food is needed well, every day. I reach out to my container of poha in the morning when I am running short on time and do not have any ready batter or bread lying around in the kitchen or too bored to eat the cereals and oats yet again in the morning. It takes no more than 20 minutes from start to finish and is a perfect way to start the day especially with a bowl of home made yogurt, fits snugly into lunch boxes without any hazard of spills and tastes divine even after it is cold. Any other requirements to be satisfied before you can feature it in your kitchen? I didn't think so :-)
While this avalakki vaggarane shows up atleast once in 2 weeks in my home, I was still hesitant to put it on the blog. Then something happened very recently (infact twice) to make me feel confident that it truly deserves a place on the blog. A friend of BH was staying with us over Christmas Holidays and when I made this for one of the breakfasts as they were heading out for a boys day out, our guest casually mentioned that we (in US) seem to get better quality poha/beaten rice than at Pune (where he came from). This was a very unexpected remark, I know the exported goods are sometimes better but what can make poha better here than Pune? And I have read and heard from everybody around me that Pune/Maharastra is known for its Poha dishes, so slightly intrigued, I asked him what he meant by that. He said the texture of the poha was very nice and the dish tasted very yummy. Now you can definitely pass this off as my polite guest's polite compliment and not attach any more significance to that simple statement but it was his 2nd day at home and I was actually wondering about my cooking skills since he was hardly eating anything remotely sufficient for a grown man since he landed. Both him and BH who has known him for a long time kept telling me that it was not the food but his normal eating habits. With that background, on the day I made this poha, he had 3 servings and enjoyed them :-). So I am convinced that it was not just a polite compliment of a guest. And further conversation made it clear that he thought the texture of the poha itself was unlike any he gets in Pune (BTW, he cooks regularly at home) and then I told him I made it so by powdering the store bought poha.

Then the next week, we had a family friend and wife visiting from Far East and as their stay was short, I made this poha again before they left for the airport. The couple relished it genuinely and made me feel all warm and fuzzy :-).

Buoyed by these two unexpected compliments, I thought this poha recipe of mine had definite potential on the blog, so here it is..Food can't get any simpler, satisfying or more delicious than this dish.
There are multiple versions of the poha - some with onion, some with potatoes, some with carrots, some a combination of 2 or more of these, and .... So I thought instead of writing a different post for each of those variations, I would give it to you one single "all in one" post as a reference for you to pick and choose from or make your own delicious combinations. I will also point out to my favorite ones so you know which ones to try first :-).

Although I make this dish by directly soaking the store bought poha/beaten rice in water, most days I run it in my mixer to make a rough or coarse rava kind of consistency before soaking it. This is the only way nammamma makes this dish and I love the texture and taste of it. It hardly takes 2-3 additional minutes and is compensated in the soaking time as the powdered poha soaks quicker than the whole and is very well worth the time and effort. But if you do want to skip that step, you can still follow the rest of the recipe and the variations to make a delightful seasoned poha.

What do you need to make Avalakki vaggarane? 
(This is how I made it the day I took the pictures, look at the variations given below for other equally yummy versions)
2 cups think poha/avalakki
2 Tblsp oil
1 Tsp mustard seeds
1 Tblsp chana dal
1 Tsp Urad dal
3-4 curry leaves
2-3 green chilies
1/2 inch ginger root
2 Tblsp finely chopped onion
2 Tblsp finely chopped carrots
1 Tblsp finely chopped cilantro
1 Tblsp grated/shredded coconut (fresh or frozen)
1/2 Tsp sugar (optional but recommended)
1 Tsp lemon/lime juice (optional)
1 Tsp salt (adjust to taste)

How do you make Avalakki Vaggarane? 
  • Add the thick poha into your mixer jar and make a upma rava consistency by pulsing the mixer a few times. 
  • Take the ground poha into a wide bowl and run water on it and immediately drain the water out. 
  • Let the wet poha stand for 5 minutes (while you are preparing the seasoning) for it to soak up the water. 
  • In the mean time, heat a wide pan and add oil to it. 
  • Add mustard and the dals into the oil and let them come to a sizzle along with the oil (slow roasting of dals gives them the crunch and they stay that way even after you add the soaked poha). 
  • Once mustard starts to pop, add chopped green chilies, finely chopped ginger and curry leaves and let them roast for 30 seconds. 
  • Add the finely chopped onion and saute for a minute. 
  • Add the chopped carrots, salt, turmeric powder and saute for 2-3 minutes until carrots becomes slightly soft and onions are cooked. This time is entirely dependent on the size of your vegetables, heat from the stove and your preference for crunchy or soft bites. 
  • While the veggies are cooking, fluff up the soaked poha as it would have become one big tight mass (unless you over watered it :-)). break the lumps and make sure it looks completely fluffy. 
  • Pour the fluffed poha into the pan, add chopped cilantro, shredded coconut and give a good mix. 
  • Cover and cook for 2-3 minutes on low heat until the poha just warms up, remember there is no cooking of poha required. 
  • Open the cover, switch off the stove, add lemon juice if using and serve warm or cold with a bowl of thick yogurt on the side. 
Notes: 
  • Unlike the whole poha, soaking the ground poha is a little tricky, excess water will make it soggy, so err on the side of using less water and you can sprinkle some later if the poha looks very dry. 
  • Mixer/blender wisdom: When grinding poha in the mixer, make sure you have added enough quantity to just cover the blades, if the amount is too less, it doesn't grind well and if it too much, it tends to make a powder. 
  • If you are using whole poha, squeeze handfuls of it to remove all excess water before adding it to the seasoning. 
  • You can finely chop green chilies if you like it spicier or leave them as big pieces that can be lifted out of the plate easily if someone is not friendly with the heat. 
  • I sometimes use grated carrots instead of finely chopped ones, this changes the bite and texture but you can try it for a change. 
Variations:
  1. Nammamma makes a very basic version - no oinions, no ginger and adds 1/2 Tsp sugar along with the fluffed up poha and ofcourse one and half times the quantity of coconut I gave here and it tastes divine. 
  2. Cube and parboil potatoes (1 medium potato is good for this quantity) and add it along with onions to saute and crisp a little. This makes it kanda-batata poha (onion-potato). 
  3. Bell peppers of different colors finely chopped make excellent flavor agents in this poha. Use them along with onions & carrots or without them. 
  4. Green peas, fresh or frozen, boiled to tender and added not only gives a splash of color but also some protein boost. 
  5. Add peanuts while roasting the dals to add some crunch to the poha. 
  6. Add cooked garbanzo beans (chole) to upp the proteins. 
  7. A restaurant version of this humble homely dish is generally served with a squeeze of lemon/lime and sprinkled with a spoon of sev (deep fried lentil sticks) or boondi on top. Looks pretty if you want to try it. 

Thursday, January 9, 2014

Rasedar Gobi - Cauliflower in a creamy fennel flavored sauce

New year started 9 days back and it already seems like it has been here forever. I still haven't written 2014 anywhere, so much for all electronic communications and gadgets. Me & DD had this bet going that we would be writing 2013 until atleast March and I haven't hand written the date even once in the last 9 days, so no scope for error :-). I guess I am not leaving a lot of footprints in this world after all.

There were times when I wouldn't know what to make out of Gobi/phool Gobi/Cauliflower if I found one in my hand. I grew up hardly eating this winter vegetable since nammamma hardly ever brought it home. As I grew older and possibly wiser, I ventured into many vegetables and dishes and cuisines hitherto unknown and found that I did like a lot of them. I am open and willing to try many dishes I wouldn't even have given a second glance before. It no longer seems strange that I already have a handful of Gobi recipes on my blog here. Things do change over time, right?
This is a recipe I got from one of the online cookery shows I was watching on a day when boredom and solitude were how the day was defined :-). Infact it was made with potatoes and not cauliflower at all. Since potato and cauliflower have such kinship and go so well in most recipes they are put together, I was originally thinking of adding cauliflower into the gravy, but it so happened that I was out of potatoes when I finally decided to make this curry, there were chapatis already planned for the lunch so I went ahead and made them with just cauliflowers and loved it totally. Adding potatoes will bring in additional thickness to the gravy, if you want you can combine the 2 vegetables or use either of them.

What drew me to the recipe the first time I saw it was the use of fennel and roasted coconut, it sounded close to the kadala curry I had made and loved and I was eager to use fennel again in my cooking. Did I mention roasted and ground fennel is an aroma I LOVE to have in my kitchen. Here is a quick tip for all you fennel lovers, add a little spoon of freshly roasted and ground fennel to your pizza dough and enjoy the gleeful surprise on the face of your family and guests. This curry turned out simply great and a perfect accompaniment for rotis. I am sure you can serve it with plain rice and a fried rice.
While the list of ingredients look a bit tiresome below, don't let that be a deterrent, I have organized them into masala and others for ease of cooking. The original recipe used readily available powders, since I love fresh ingredients I boosted the flavor here with a few freshly roasted spices in addition to the dry powders.

What do you need to make Rasedar Gobi? 
3 cups chopped Gobi/cauliflower
Rasedar masala: 
1 cup chopped tomato
2 Tblsp roughly chopped onion
2 Tblsp shredded coconut
1 Tblsp oil
1 Tblsp saunf
1 inch piece cinnamon
3 cloves
1 green cardamom
4-6 black pepper corns
8-10 almonds
Other ingredients: 
1 Tblsp oil
1 inch piece ginger
2 Tblsp finely chopped onion
1/2 Tsp kasoori methi
1/2 Tsp red chili powder
1/2 Tsp garam masala
1/4 Tsp amchoor powder
1 Tblsp finely chopped cilantro
1 Tsp salt (adjust to taste)

How do you make Rasedar Gobi? 
  • Put chopped Gobi in a microwave safe bowl, cover it with water and a pinch of salt and microwave for 5-7 minutes to make the pieces slightly tender. You can do this on stove top bringing a pot of water to boil, add gobi pieces and switch off. 
  • Strain the tenderized Gobi pieces and reserve the water for later use. 
  • Heat 1 Tblsp oil in a pan, add cinnamon, cloves, cardamom, pepper and saunf and roast until you get the fragrance of the spices - 1 to 1.30 minutes
  • Add roughly chopped onions and saute for a minute.
  • Add chopped tomatoes and almonds and saute for 2-3 minutes until tomatoes become mushy. 
  • Add shredded coconut and roast for a minute or two. 
  • Switch off and let it cool down before grinding to a very smooth paste. 
  • Heat the remaining oil in the pan, add grated ginger and finely chopped onions and saute until onions are translucent. 
  • Add the blanched gobi pieces and increase the heat to high. 
  • Stirring continuously, let the Gobi pieces crisp up and brown a little bit - about 3-5 minutes. 
  • Add the ground masala, dry powders. taste and adjust.  
  • Adjust consistency with reserved water. 
  • Let the gravy boil on medium heat. 
  • Crush kasoori methi between palms and add it to the gravy. 
  • Switch off, garnish with chopped cilantro and serve warm with rotis or rice. 
Notes: 
  • You can add a cup of chopped potatoes to this dish if you are a fan of potatoes. 
  • I replace cashew nuts with almonds in most of my gravy recipes because they are better nuts of the two. If you prefer the creamy taste of cashew nuts, go ahead and indulge. 
  • Add amchur powder if you like the curry slightly tart and if your tomatoes are not very sour. 
  • Blanching the gobi pieces reduces the cooking time in the pan, you can skip this and cover and cook Gobi pieces in the pan until they turn tender. 
  • Roasting the spices fresh brings out most flavor, you can skip this and increase the amount of dry powders if you have confidence on their freshness.
Kitchen smartness: 
  • Any liquid you boil vegetables in will be flavorful and nutritious, do not chuck this down the drain, you can use it in gravies, making chapati dough and much more.